
How to install a bike bottle cage is usually simple, but the small mistakes are what waste time: wrong bolt length, cross-threading, or a cage that sits crooked and ejects bottles on rough roads.
If you commute, ride gravel, or just hate mid-ride rattles, a correctly mounted cage matters more than people think, it protects your frame’s threaded inserts and keeps hydration within reach when you need it.
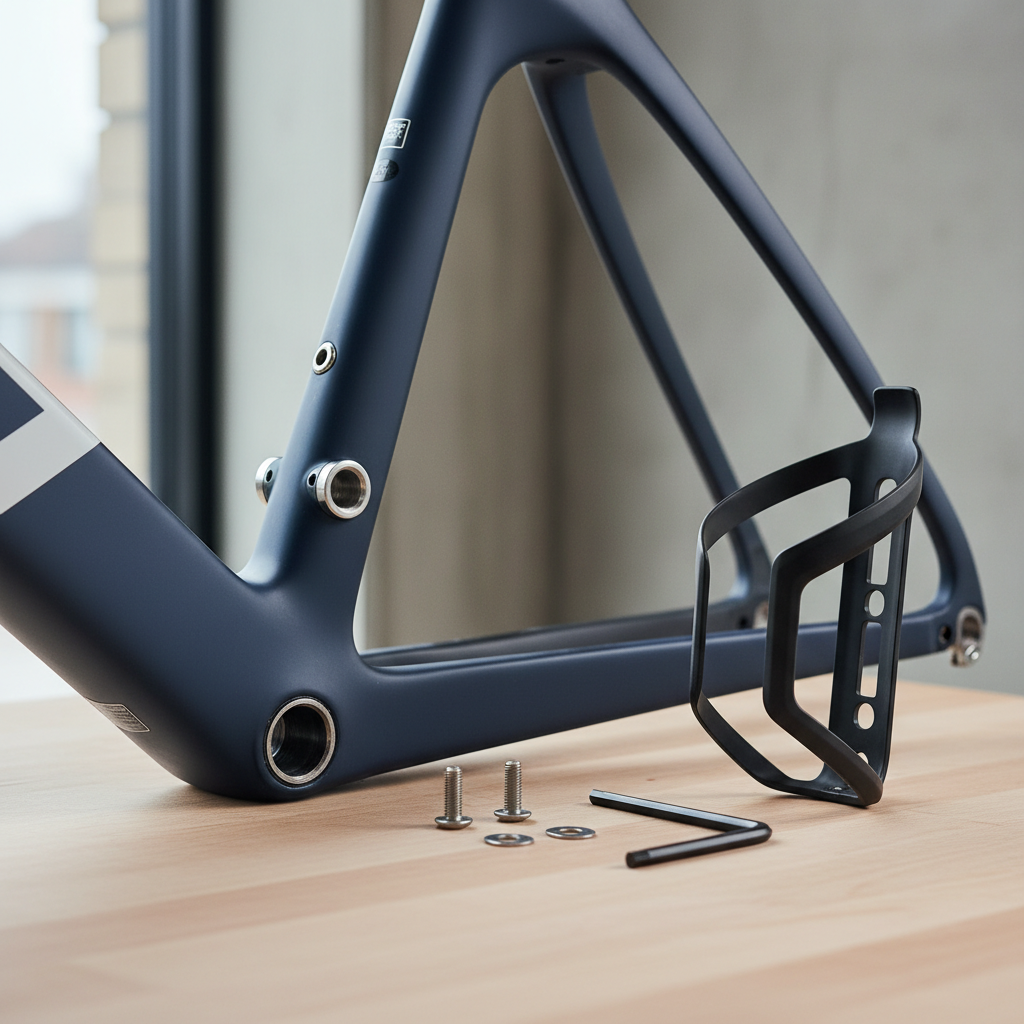
One quick note before you start: most frames use standard bottle-cage bosses (threaded inserts), but not all bikes have them, and some e-bikes or full-suspension frames need specific cages or locations. This guide helps you identify your setup, then install with confidence.
What you need (and what most people forget)
You can install a cage with minimal tools, but having the right small parts prevents stripped threads and loose cages.
- 4mm hex key (most common), sometimes 3mm or Torx depending on bolts
- Two bottle cage bolts (typically M5 x 0.8)
- Optional washers (help protect paint and improve clamping)
- Medium-strength threadlocker (optional, useful for rough roads)
- Torque wrench (nice to have, not required, but safer for carbon)
According to Park Tool, avoiding cross-threading and using appropriate torque are key to preventing damaged threads and cracked components, especially on lightweight parts.
Before you bolt anything on: check your frame and cage compatibility
Most “it won’t fit” moments come from skipping these quick checks.
1) Do you have bottle cage mounts?
- Yes: You’ll see two threaded holes (bosses) on the downtube, seat tube, and sometimes the underside of the downtube.
- No: You’ll need strap-on/adaptor solutions or alternative carrying methods, more on that below.
2) Is there enough clearance for your bottle?
- Small frames may not fit a full-size bottle on the seat tube.
- Full-suspension bikes may have shock interference.
- Frame bags can block bottle removal.
If clearance feels tight, a side-entry cage often solves it without changing your setup.
Step-by-step: installing a bottle cage on standard mounts
This is the straightforward version of how to install a bike bottle cage on a frame with factory mounts.
1) Prep the bolts and threads
- Wipe the bosses and bolts clean so grit doesn’t chew up the threads.
- If bolts feel dry or squeaky, a tiny drop of light grease can help on metal frames. For carbon frames, follow the frame maker’s guidance; when in doubt, keep it minimal.
- If you ride bumpy roads, a small dab of medium threadlocker can reduce loosening, just don’t overdo it.
2) Start both bolts by hand
Hold the cage in place, then thread each bolt in by hand for a few turns before using a tool. If you feel resistance immediately, stop and realign, that’s often cross-threading starting.
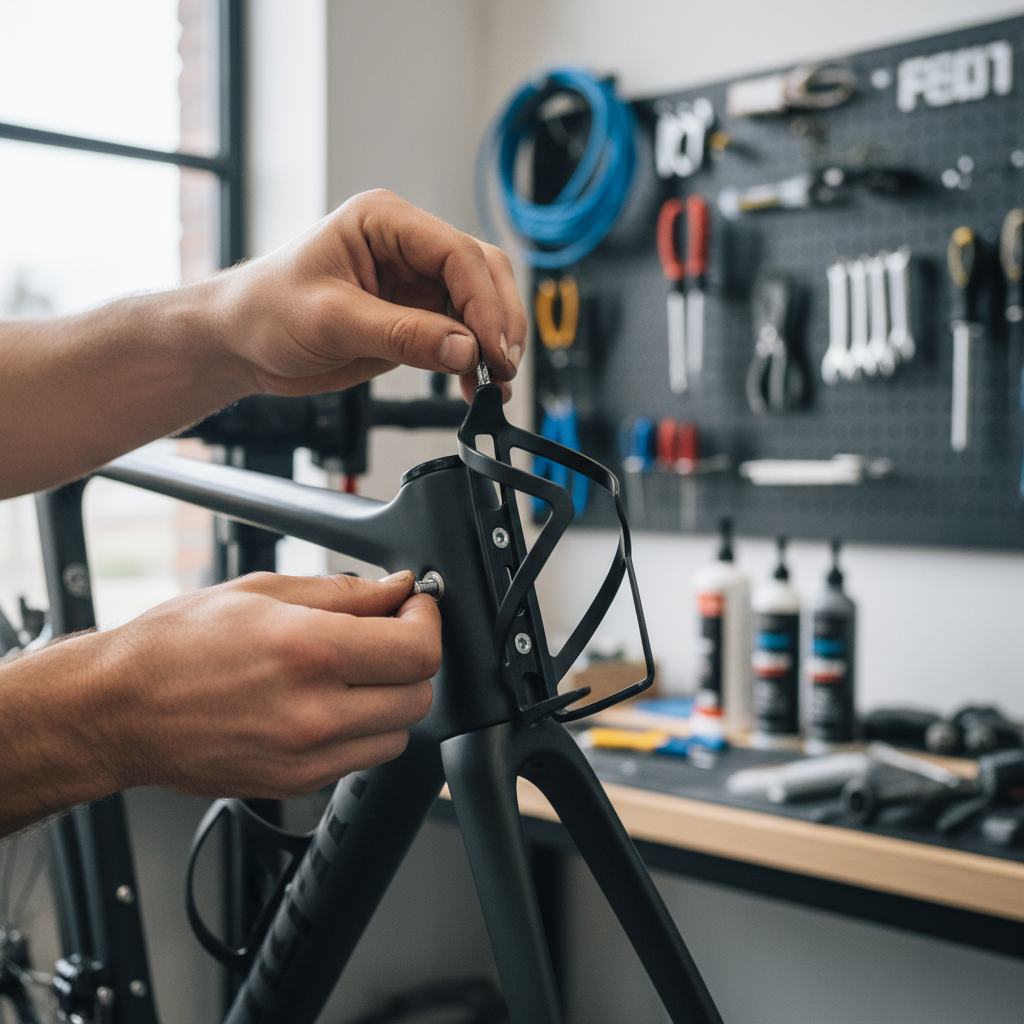
3) Align the cage and snug evenly
- Snug the top bolt a little, then the bottom, alternating until the cage sits straight.
- Keep the cage centered so it doesn’t rub a crank arm, frame bag, or cable housing.
4) Tighten to “secure, not heroic”
If you have a torque wrench, many cages and frames land around 3–5 N·m, but it varies by part and material, so defer to your frame or cage manufacturer if they specify. Without a torque wrench, tighten until the cage stops shifting when you twist it by hand, then add a small extra nudge.
For carbon frames or very light cages, err on the gentle side, over-tightening can cause damage that’s expensive to fix.
Quick self-check: is your cage installed correctly?
- No wobble: Grab the cage and try to twist it, it should feel solid.
- Bottle inserts smoothly: You can load and remove a bottle without forcing it.
- No interference: Pedal the bike and check crank clearance, also check cables and frame bags.
- Bolts sit flush: Bolt heads seat cleanly against the cage tabs, not at an angle.
If any of these fail, fix it now, a loose cage tends to strip threads over time, and then the “easy job” turns into a repair.
Common problems and how to fix them (without making it worse)
Bolts won’t start or feel crunchy
- Back the bolt out and try again by hand.
- Check if the bolt is actually M5, or if the threads are damaged.
- If the boss threads look compromised, don’t force it, a bike shop can often chase threads or install a thread repair insert.
Cage sits crooked
- Loosen both bolts, align, then tighten evenly.
- Add thin washers if the cage tabs don’t sit flat due to frame shape.
Bottle launches on bumps
- Try a cage with stronger retention for gravel or MTB riding.
- Check cage angle and bottle size, some oversized bottles fit poorly.
- In some cases, moving the cage to the down tube improves retention and access.
Alternative installs: no mounts, tight space, or odd frames
Sometimes there’s nothing “standard” about the bike in front of you, and that’s normal.
No bosses on the frame
- Strap-on cages/adapters can work for casual riding, but they can slip or scuff paint, especially in wet grit.
- Handlebar or saddle bottle systems suit some setups, but access feels different and weight distribution changes.
Tight clearance in the front triangle
- Side-entry cage for small frames or bikes with frame bags
- Short bottle to reduce interference
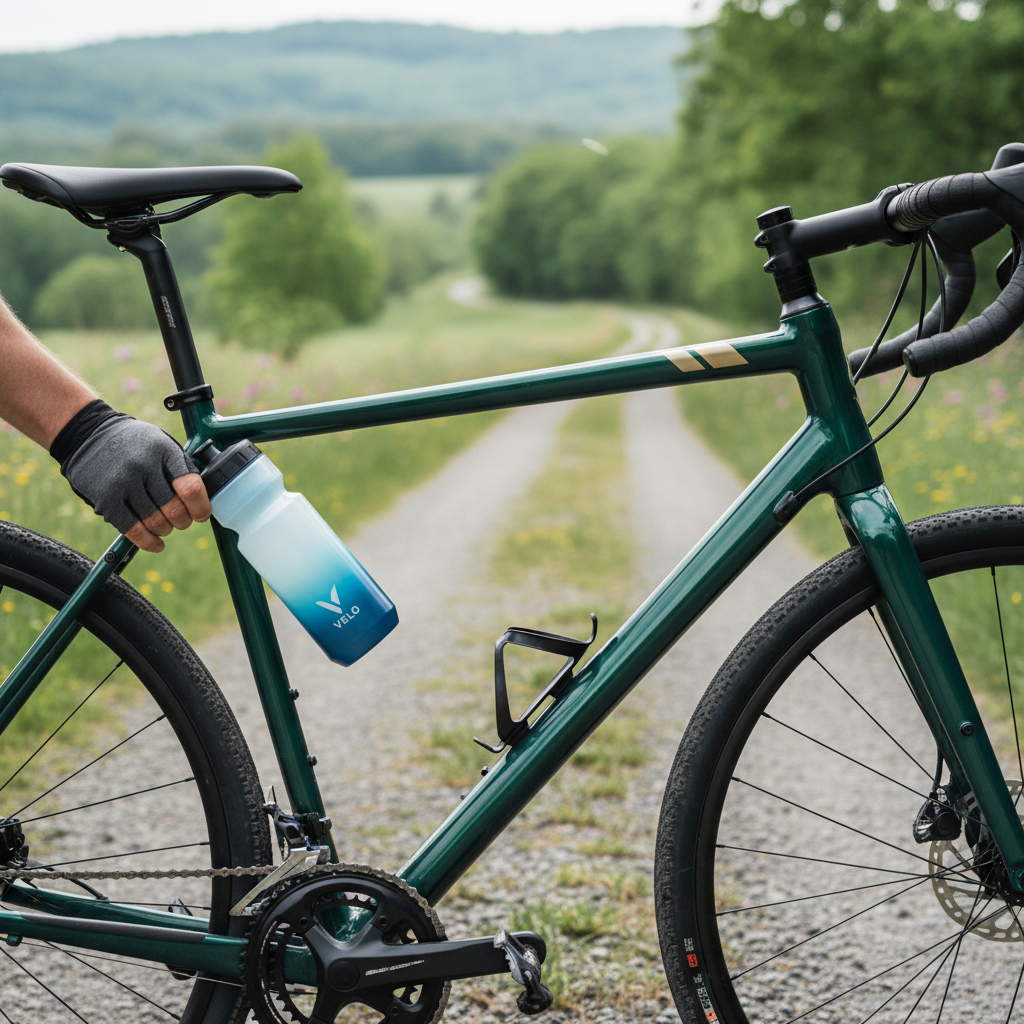
E-bikes and full-suspension bikes
Battery shapes, linkages, and shocks can crowd bottle placement. In many cases you can still run a cage, but you may need a specific mount position or a cage designed for tighter access. When unsure, checking the bike brand’s accessory guide usually saves time.
Hardware guide: bolt length, materials, and when to use washers
This is the part that prevents most frustration.
| Item | Typical spec | Why it matters | Good default choice |
|---|---|---|---|
| Bottle cage bolt | M5 x 0.8 thread | Wrong thread can damage bosses | Use bolts that came with the frame or cage |
| Bolt length | 10–16 mm common | Too long can bottom out, too short can strip | Start with 12 mm if you’re unsure |
| Washer | Small M5 washer | Spreads load, protects paint | Add if cage tabs are thin or paint is delicate |
| Threadlocker | Medium strength | Reduces loosening from vibration | Use for gravel/MTB, skip for frequent adjustments |
Key takeaway: if the bolt tightens suddenly before the cage feels clamped, it may be bottoming out in the boss, swap to a shorter bolt rather than forcing it.
Safety notes and when to get a bike shop involved
Most installs are low-risk, but damage happens when people “muscle through” resistance. If you suspect cross-threading, stop and reassess.
- Carbon frame concerns: If you’re not confident about torque, a shop can tighten to spec quickly, and that peace of mind is worth it.
- Spinning or loose rivnut/boss: If the threaded insert spins in the frame, it needs professional repair.
- Stripped threads: A shop may chase threads or repair with an insert, forcing a bolt often makes the repair harder.
According to Shimano, using correct tightening torque and appropriate tools helps prevent component damage and improves safety; while bottle cages aren’t drivetrain parts, the same “don’t over-tighten” logic still applies.
Conclusion: a secure cage now saves hassles later
Once you learn how to install a bike bottle cage the right way, the job becomes a two-minute habit: start bolts by hand, align the cage, tighten evenly, and do a quick wobble check.
If you want a clean next step, install the cage, test it with your usual bottle, then re-check bolt tightness after your first ride, especially if you ride rough pavement or gravel.