
How to clean cycling sunglasses lenses comes down to two priorities: remove grit before you wipe, and use products that won’t haze or strip lens coatings. If you ride a lot, you’ve probably seen it, sweat and road spray turn into a stubborn film, and one careless wipe with a jersey can leave micro-scratches that never really go away.
This matters more for cycling than casual wear because you’re dealing with dust, salt, sunscreen, bugs, chain lube mist, and constant airflow that “bakes” grime onto the surface. Dirty lenses don’t just look bad, they can mess with contrast and depth perception, especially when you hit shade-to-sun transitions.
In this guide, I’ll walk through a practical routine you can do at home or at the trailhead, a quick decision checklist for what kind of mess you’re dealing with, and a few mistakes that quietly ruin expensive lenses.
What makes cycling sunglasses lenses get dirty so fast
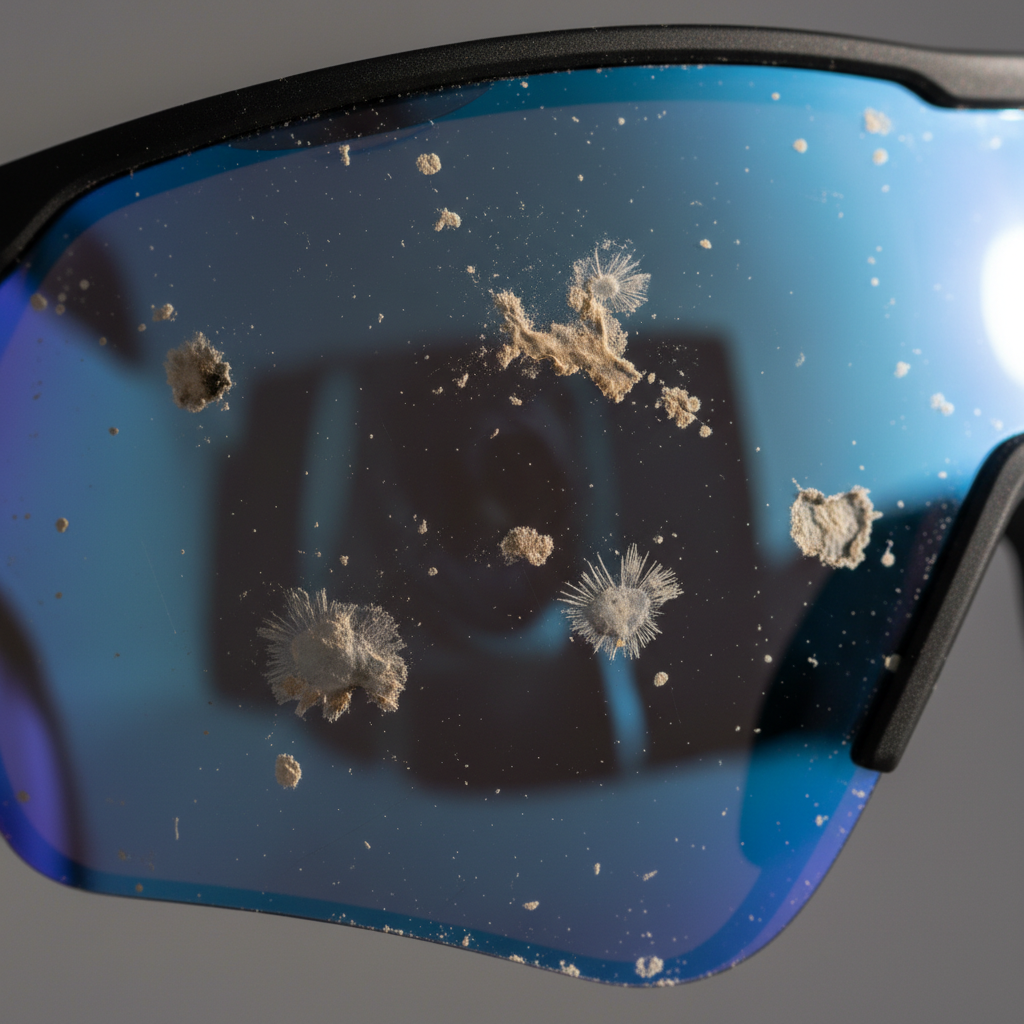
Most lens “gunk” is a mix of particles and oils. The particles scratch, the oils smear. Put them together and you get that classic hazy layer that seems impossible to buff out.
- Road grit and trail dust: fine sand and brake dust act like sandpaper if you rub dry.
- Sweat and salt: dries into a crusty edge near the brow and nose, then smears back across the lens.
- Sunscreen and skin oils: create a slick film that resists plain water.
- Bug splatter: proteins dry hard and often need soaking, not scrubbing.
- Coatings: anti-reflective, mirror, hydrophobic, and anti-fog layers can be sensitive to harsh cleaners.
According to the American Optometric Association (AOA), using the wrong cleaners can damage lens coatings, and gentle, lens-safe methods help preserve clarity over time.
Quick self-check: what kind of cleaning do you need?
Before you do anything, decide whether you need a rinse, a wash, or a soak. This one minute check prevents the most common mistake: wiping grit across the surface.
- Dry dust visible in sunlight? You need a thorough rinse before any wiping.
- Smears, fingerprints, sunscreen film? Use mild dish soap and lukewarm water.
- Bug spots that won’t lift? Soak with water for 30–60 seconds, then wash.
- White salt line or crust near vents? Wash and gently brush edges with a clean fingertip.
- Fog residue or anti-fog product buildup? Use a lens-safe cleaner designed for coated sports eyewear.
If your lenses already have fine scratches, cleaning won’t remove them. The goal shifts to preventing new damage and improving clarity as much as possible.
The safest step-by-step method (home or post-ride)
This is the routine I’d use when I want the highest chance of a streak-free finish without gambling with coatings. It’s not fancy, it’s just consistent.
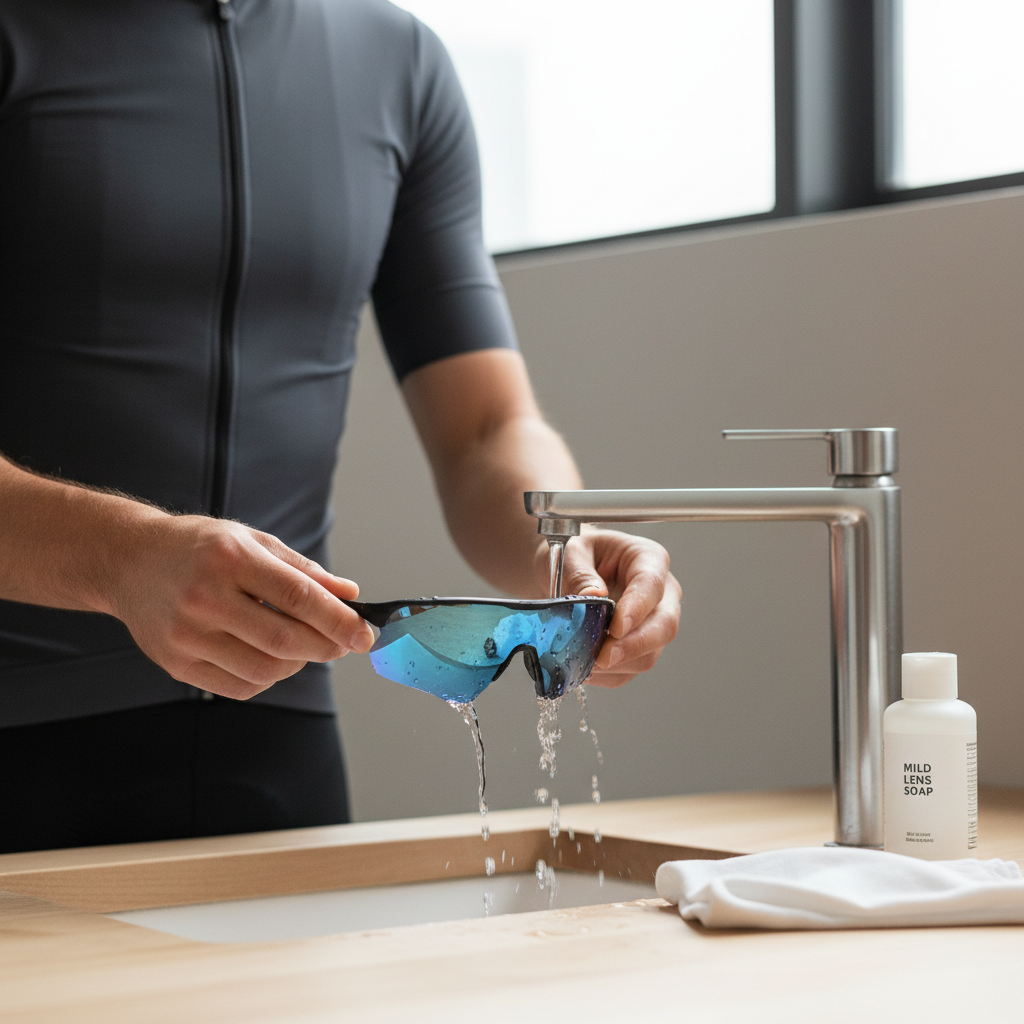
1) Rinse first, always
Hold lenses under a gentle stream of lukewarm water. Let the water carry away grit. Hot water can soften some coatings and adhesives on certain frames, so keep it moderate.
2) Add a small drop of mild dish soap
Use a fragrance-free, lotion-free dish soap if possible. Rub lightly with clean fingertips on both sides of the lens and around the nose area where oils collect.
3) Rinse thoroughly
Any soap left behind becomes streaks later. Rinse until water sheets cleanly across the surface.
4) Shake, then blot-dry
Shake off excess water. Then blot with a clean microfiber lens cloth or a clean, soft cotton towel. Avoid rubbing aggressively while moisture remains, that’s where streaks start.
5) Final polish with microfiber (light pressure)
Use a dedicated lens microfiber that stays in a clean bag. A couple gentle passes should do it. If you have to “work” to remove a spot, go back to rinse-and-soap rather than grinding it out.
Trailhead or mid-ride quick clean (when water is limited)
Sometimes you just need to get through the next descent safely. The trick is avoiding dry wipes when dust is present.
- If you have a water bottle: splash a small amount over the lens first, then use a microfiber.
- If you carry lens wipes: choose individually wrapped, lens-safe wipes, and still try to knock off grit with a little water first.
- If all you have is a jersey: use it only when lenses are already wet and you’ve flushed off particles, otherwise you’re basically polishing with dirt.
If you’re wondering how to clean cycling sunglasses lenses during a dusty gravel ride, the “water first” rule matters even more. A 10-second rinse saves months of living with micro-scratches.
Cleaning products and tools: what to use vs avoid
Not all “glass cleaners” are lens cleaners. Many contain ammonia or solvents that can cloud coatings over time.
| Item | Use it? | Why |
|---|---|---|
| Lukewarm water | Yes | Safest first step to remove abrasive grit |
| Mild dish soap (no lotions) | Usually yes | Breaks down oils and sunscreen without harsh solvents |
| Microfiber lens cloth | Yes | Low-lint, less abrasive when kept clean |
| Paper towels / tissues | No | Wood fibers can scratch and leave lint |
| Household glass cleaner | No | May contain ammonia/alcohols that can harm coatings |
| Rubbing alcohol | Sometimes | Can cut oils but may not be coating-safe, check manufacturer guidance |
| Compressed air | Sometimes | Can blow off dust, but avoid blasting grit into edges |
According to The Vision Council, proper lens care typically includes using products intended for eyewear to help reduce coating damage and scratching risk.
Common mistakes that cause streaks, scratches, or peeling coatings
Most lens damage happens in “quick clean” moments, not during careful washing at home.
- Wiping dry lenses: even a clean microfiber can drag grit across the surface.
- Using a dirty microfiber: a cloth that lives in a jersey pocket often collects dust and tiny debris.
- Too much pressure: pressing harder doesn’t remove a stuck spot, it just increases scratch risk.
- Hot water in a hurry: can be rough on some coatings and frame adhesives.
- Spraying cleaner directly on vents/foam: residue can migrate back onto lenses later.
- Ignoring the nose pads and frame edges: oils transfer right back when you put them on.
If you keep seeing “mysterious” smears, it’s often the frame, not the lens. A quick wash around the contact points fixes more than most people expect.
Extra tips for mirrored, photochromic, and anti-fog lenses
Specialty lenses aren’t fragile, but they tend to be less forgiving if you use the wrong chemical cleaner.
- Mirrored finishes: treat the outer surface gently, blot dry before polishing, and avoid anything abrasive.
- Photochromic lenses: clean like normal, but store out of extreme heat in a car, heat can shorten lifespan.
- Anti-fog coatings: avoid rubbing aggressively; many anti-fog layers work best with gentle blotting and a coating-safe spray.
When in doubt, check the eyewear brand’s care notes. Many publish a short “approved cleaner” list, and it’s usually worth following to protect warranty coverage.
Key takeaways and a simple routine you can stick to
If you remember only a few things, make them these:
- Rinse before wiping to avoid turning dust into scratches.
- Use mild soap for oils and sunscreen film, water alone often disappoints.
- Blot, then lightly polish for fewer streaks.
- Keep microfiber clean and store it in a small bag, not loose in a pocket.
For most riders, the easiest upgrade is building a 60-second post-ride habit: rinse, a tiny drop of soap, rinse again, blot dry. It keeps vision crisp and helps your lenses age a lot more gracefully.
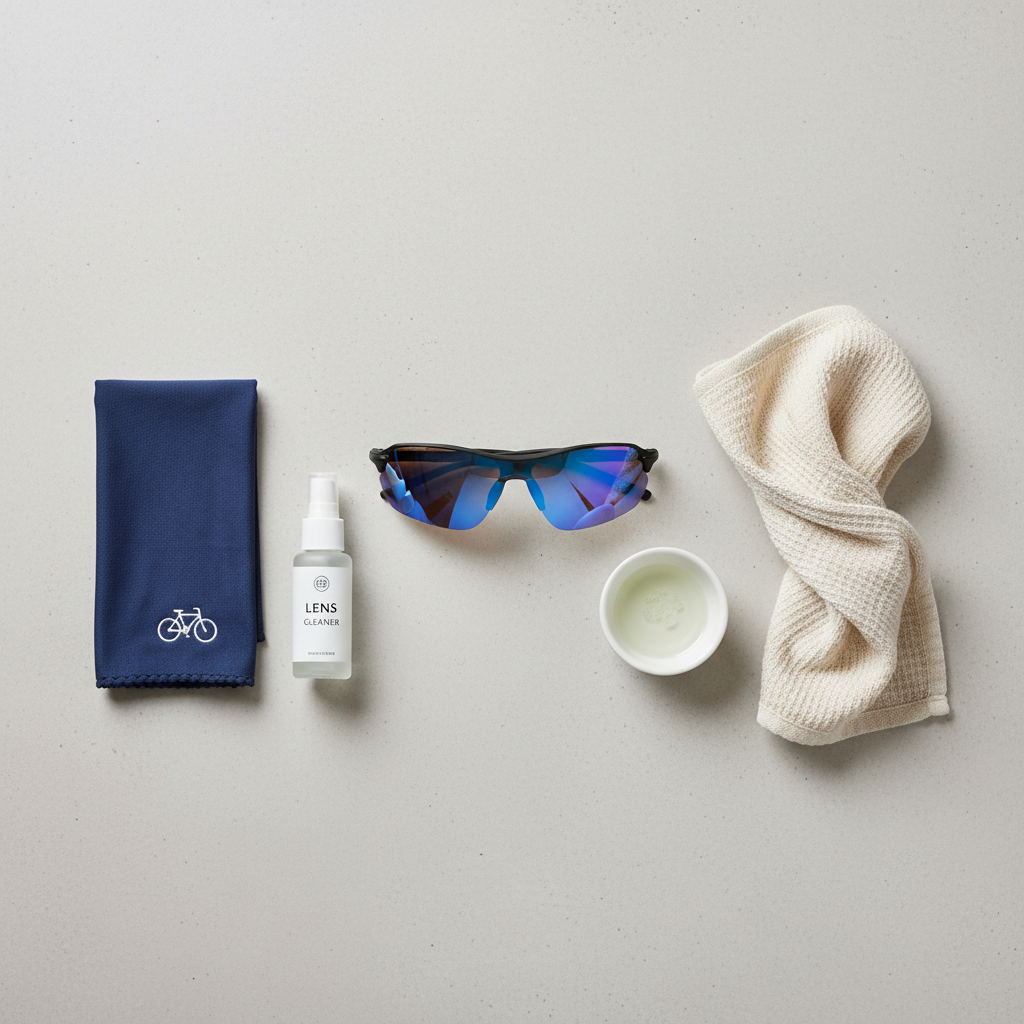
If you want, set up a small “lens station” near where you drop your helmet, a microfiber cloth, mild soap, and a place to air-dry. That simple setup removes a lot of friction, and it’s usually what determines whether cleaning happens consistently.
When it’s time to replace lenses or ask a pro
Cleaning helps, but there are points where it stops being worth the effort.
- Deep scratches in your line of sight: they can scatter light and may be distracting in bright sun.
- Peeling or cloudy coatings: often shows as patchy haze that won’t wash off.
- Cracks or impact marks: especially after a crash, consider replacement for safety.
If you’re unsure whether a coating is failing or you’re seeing vision issues on the bike, it’s reasonable to ask an eyewear shop or eye care professional for guidance. For prescription cycling sunglasses, an optician can also suggest lens materials and coatings that match your riding conditions.
Final note: once you nail the basics, how to clean cycling sunglasses lenses stops being a recurring annoyance and becomes a quick maintenance step, a little like wiping your chain, small effort, big payoff in feel and confidence on the road.