How to clean a bike water bottle comes down to two goals: remove residue you can see, and break down the biofilm you can’t. If your bottle tastes “plasticky,” smells musty, or leaves your water with a weird aftertaste, it’s usually not the water—it’s buildup in the bottle, cap, or nozzle.
This matters more than most riders think because bike bottles live in a perfect storm: warm temps, backwash, sugars from mix, and time in a dark bottle cage. Even if you only use water, a quick rinse often isn’t enough to keep funk from returning.
Below is a practical routine you can use after everyday rides, plus a deeper clean for stubborn smells, mold spots, and sports-drink residue. I’ll also point out the “gotchas” that keep people stuck in a cycle of clean-today, stink-tomorrow.
What makes bike bottles smell or taste bad (it’s usually one of these)
The root cause is typically a mix of residue + time. A bottle can look clean and still taste off because biofilm forms as a thin, slippery layer inside the bottle and especially in the cap and nozzle.
- Backwash and saliva collect around the valve and threads, even on “water-only” days.
- Sports drinks and gels leave sugar and acids that cling to plastic and rubber.
- Warm storage (car trunks, garages) speeds up odor and microbial growth.
- Hard-to-reach parts like bite valves, straws, and O-rings trap gunk.
- Old plastic can hold onto odors longer; some bottles become “flavor-stained.”
According to CDC guidance on cleaning and sanitizing, cleaning removes dirt and many germs, while sanitizing lowers remaining germs to safer levels. For bottles with recurring odor, you usually need both.
A quick “which clean do I need?” checklist
If you’re not sure how aggressive to get, use this. It saves time and avoids overdoing harsh treatments when a basic wash would work.
- Just used plain water, no smell: quick rinse + air-dry is often enough for the day.
- Used sports drink or flavored mix: same-day wash with soap, including cap and nozzle.
- Musty smell, sour taste, or slippery interior: wash + sanitize (deep clean).
- Visible mold spots (often in the cap/nozzle): deep clean, inspect seals, consider replacing small parts.
- Smell returns fast (within 1–2 rides): focus on cap parts, soaking routine, and drying.
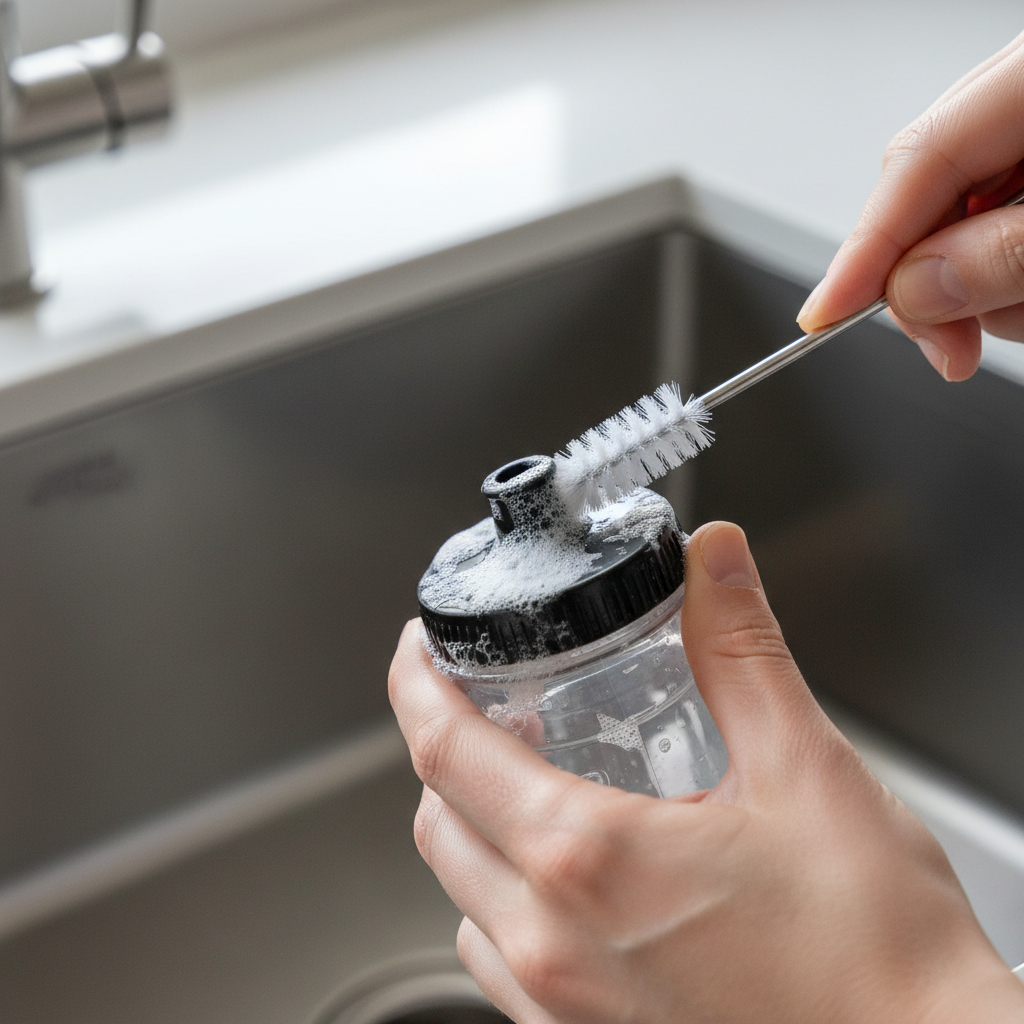
If you’re in that last category, don’t blame the bottle body right away. Many times the smell lives in the cap assembly, not the bottle.
Everyday cleaning (5 minutes) for regular rides
This is the routine that prevents most issues. The key is not skipping the cap and the mouthpiece.
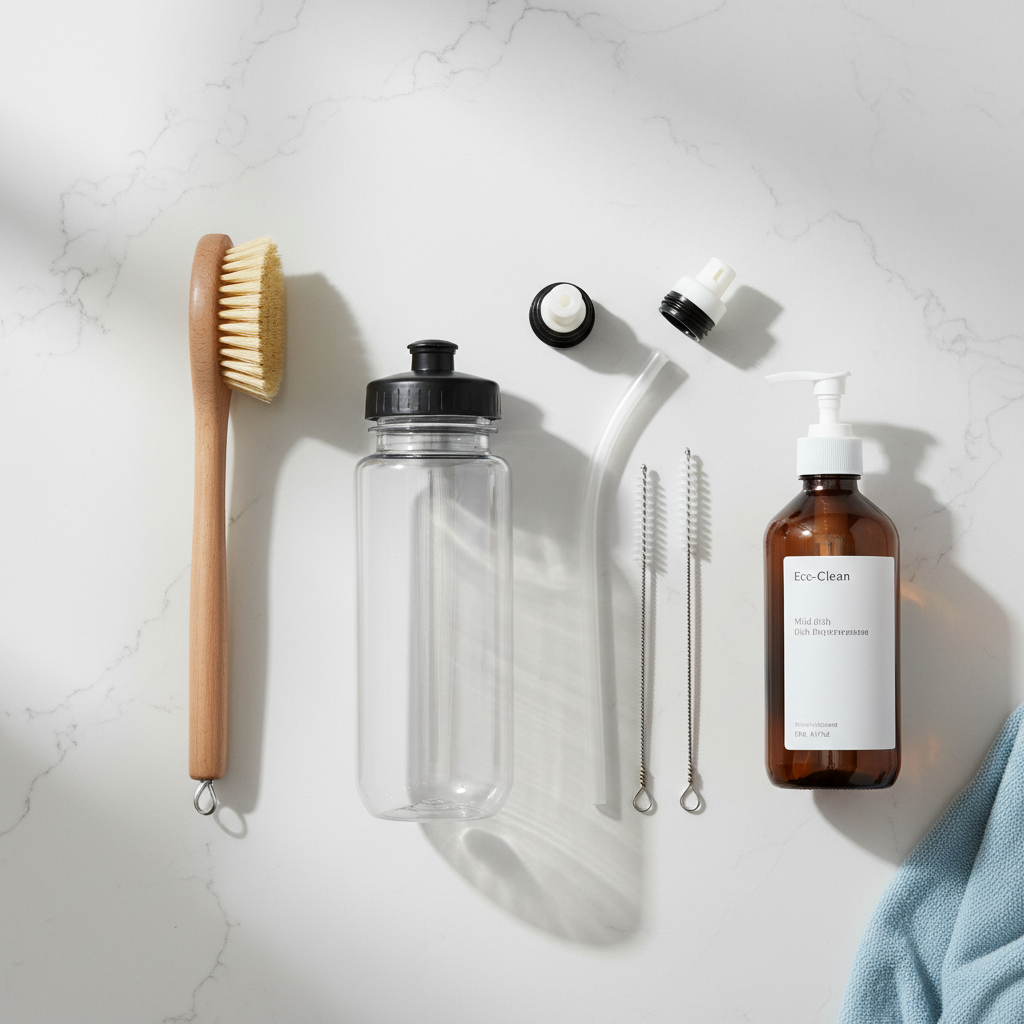
What you need
- Warm water
- Mild dish soap (unscented helps if you hate soapy aftertaste)
- Bottle brush (or a soft sponge on a handle)
- Small brush for the nozzle (a straw brush works well)
Steps
- Rinse immediately after the ride, especially if you used mix.
- Add warm water + a few drops of soap, then shake hard for 10–20 seconds.
- Scrub the inside with a bottle brush, pay attention to the bottom curve where film clings.
- Wash the cap separately, scrub the threads and around the valve opening.
- Rinse until no foam remains, then do one extra rinse for taste.
- Air-dry fully with the bottle upside down and the cap off.
That last step is where people cut corners. A damp, capped bottle turns “clean” into “stale” overnight.
Deep cleaning and sanitizing (when the smell won’t quit)
If you’re searching how to clean a bike water bottle because of funk or lingering taste, this is the reset. You’re trying to remove biofilm, not just rinse away yesterday’s drink.
Option A: Baking soda soak (good starter, low drama)
- Fill the bottle with warm water.
- Add 1–2 tablespoons of baking soda, shake to dissolve.
- Soak 2–12 hours, then scrub and rinse thoroughly.
This works well for mild smells and general freshness, but it may not fully solve stubborn mold in cap crevices.
Option B: Diluted bleach sanitize (effective, measure carefully)
According to CDC recommendations for household disinfection, a diluted bleach solution can be used for sanitizing when appropriate. Follow your bleach label instructions and verify your bottle material can tolerate it.
- Clean first with soap and water; sanitizing works better on a clean surface.
- Mix a properly diluted solution per the product label (don’t guess strong).
- Soak bottle and cap parts briefly, then rinse repeatedly until odor is gone.
- Air-dry completely.
If you’re sensitive to bleach smells, do an extra rinse and let the bottle sit open for a few hours. If odor still bothers you, skip this method and use a bottle tablet made for hydration gear.
Option C: Cleaning tablets (easy, consistent)
- Drop in a tablet designed for bottles/hydration bladders.
- Fill with warm water, let it sit as directed.
- Rinse well, then dry fully.
Tablets are often the simplest “I don’t want to think about ratios” choice, especially if you rotate multiple bottles.
Don’t ignore the cap, nozzle, straw, and O-rings
Most recurring problems trace back here. The bottle body gets scrubbed, while the cap gets a quick rinse, and the smell returns like clockwork.
- Disassemble what you can: bite valve, straw, spout cover, gasket or O-ring.
- Soak small parts in warm soapy water, then scrub with a small brush.
- Inspect O-rings for cracks or “perma-gunk.” If it won’t come clean, replacing the seal is often cheaper than replacing the bottle.
- Rinse cap parts thoroughly, soap trapped in valves causes that “dish soap” taste.
One practical habit: keep a dedicated small brush near your sink. If it’s not convenient, it won’t happen often enough.
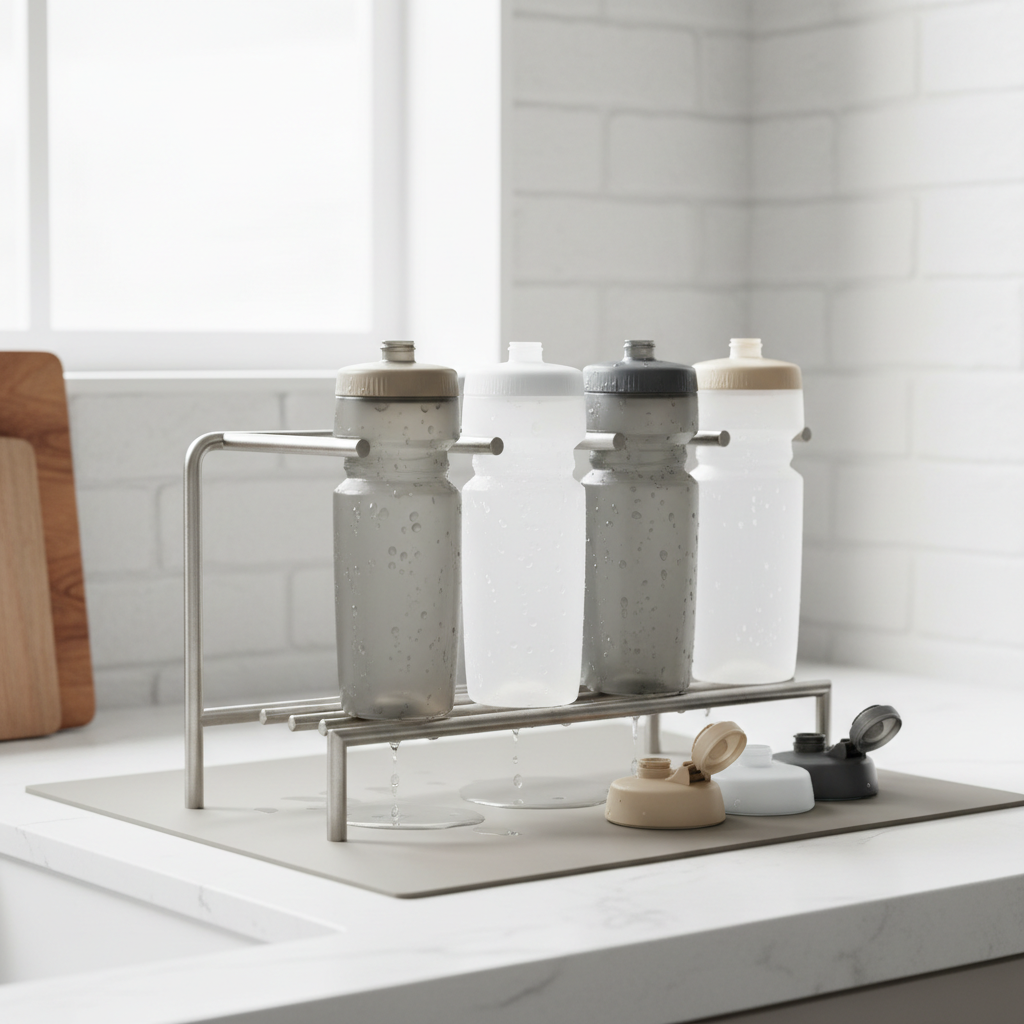
Drying is part of cleaning. A bottle that stays wet inside becomes a good home for smells, even after a thorough wash.
Quick reference table: method, when to use it, and watch-outs
| Method | Best for | Time | Watch-outs |
|---|---|---|---|
| Soap + bottle brush | Daily cleaning, sports drink residue | 3–7 min | Must scrub cap/nozzle too, rinse very well |
| Baking soda soak | Mild odor, “stale” taste | 2–12 hrs | May not fix heavy biofilm alone |
| Cleaning tablets | Convenience, regular deep cleans | 15–60 min | Follow directions, rinse after |
| Diluted bleach sanitize | Stubborn odor, visible mold (after cleaning) | 10–30 min | Measure dilution per label, rinse thoroughly, confirm material compatibility |
Mistakes that keep bottles funky (even when you “clean” them)
- Putting the cap back on while damp, this is probably the #1 reason smells return.
- Using very hot water on bottles that aren’t heat-safe, some plastics warp and become harder to clean.
- Skipping the nozzle, residue hides where your mouth touches.
- Relying on vinegar for everything, it can help with odors, but it isn’t a guaranteed sanitizer, and it may leave taste if not rinsed well.
- Letting sports drink sit overnight, it “bakes on” and takes twice the effort later.
If you keep tasting soap, reduce soap amount, switch to unscented, and add an extra rinse. Sometimes the fix is boring.
When to replace the bottle or ask a pro question
Sometimes cleaning hits a ceiling. If the bottle has deep scratches, cloudy plastic that never clears, or a smell that returns immediately after a deep clean, replacement can be the more realistic call.
- Replace if the plastic holds strong odors after multiple deep cleans, or if cap seals look worn.
- Be cautious if you notice black spots that keep reappearing in hidden parts; consider replacing the cap assembly first.
- Health concerns: if you feel unwell and suspect contamination, it’s reasonable to stop using the bottle and consider asking a healthcare professional, especially for higher-risk individuals.
When in doubt, follow the bottle manufacturer’s care instructions. Materials vary, and what’s fine for one bottle can shorten the life of another.
Practical routine: keep it clean without thinking about it
If you want the “set it and forget it” version, try this cadence:
- After every ride: quick rinse, cap off, air-dry.
- After any sports drink: same-day soap wash, including cap and nozzle.
- Once a week (or every few uses): deep clean using baking soda, tablets, or your preferred method.
- Monthly: disassemble cap parts, inspect O-rings, replace any sketchy seals.
The big win is consistency. A small routine beats a heroic scrub session every few weeks.
Conclusion: clean taste comes from cleaning the parts you don’t see
If your bottle smells off, focus on the cap assembly, do a real scrub, then sanitize when needed, and let everything dry fully. Pick one deep-clean method you can repeat without effort, because that’s what keeps the funk from coming back.
If you’re rebuilding your bottle setup for the season, it might help to keep two bottles in rotation so one can dry completely between rides, and if you use mix often, a spare cap set makes maintenance much less annoying.