
how to install a bike kickstand easily is mostly about two things: buying the right style for your frame, then tightening it to the right spot without crushing anything.
If your bike keeps tipping over, scratches paint when you lean it against walls, or you’re tired of hunting for a rack, a kickstand is a small upgrade that changes daily riding fast. The downside is that a mismatched stand or sloppy install can slip, creak, or rub your drivetrain.
This guide walks you through fit checks, tools, step-by-step installation for common kickstand types, and a quick troubleshooting section, so you can get a stable park without trial-and-error.
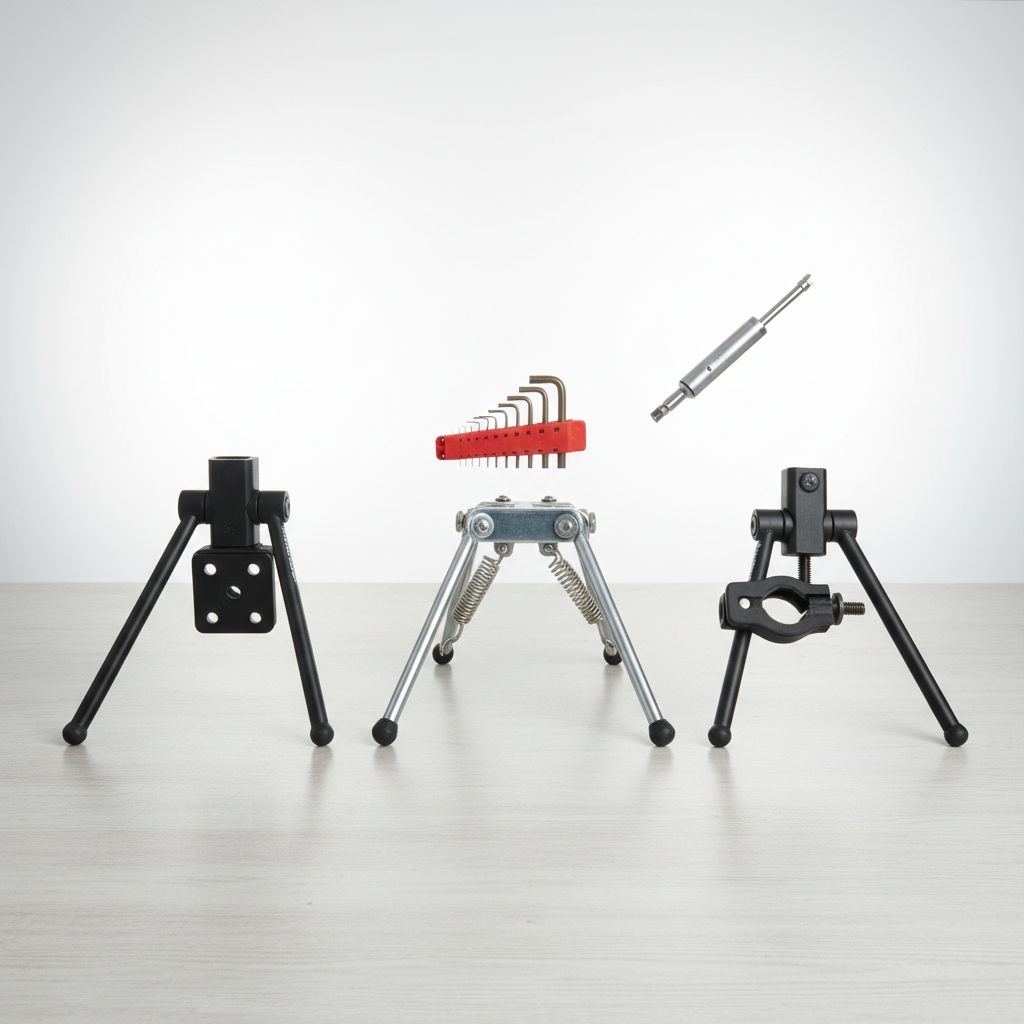
Choose the right kickstand for your bike (before you touch a tool)
Most install problems come from a simple mismatch: the stand doesn’t match your mounting points, tire size, or brake/rotor clearance. So do a 2-minute fit check before ordering or opening the package.
Common kickstand mounting styles
- Rear-mount (KSA/“direct mount”): Bolts to a plate behind the bottom bracket on the left side, common on hybrids/commuters.
- Center-mount (between chainstays): Clamps around the chainstays just behind the bottom bracket, common on some city bikes.
- Chainstay clamp (single-leg clamp): Wraps the chainstay/seatstay area; handy but easier to misalign.
- Double-leg center stands: More stable for heavy loads, often needs a dedicated mounting plate and clearance.
Quick compatibility checks
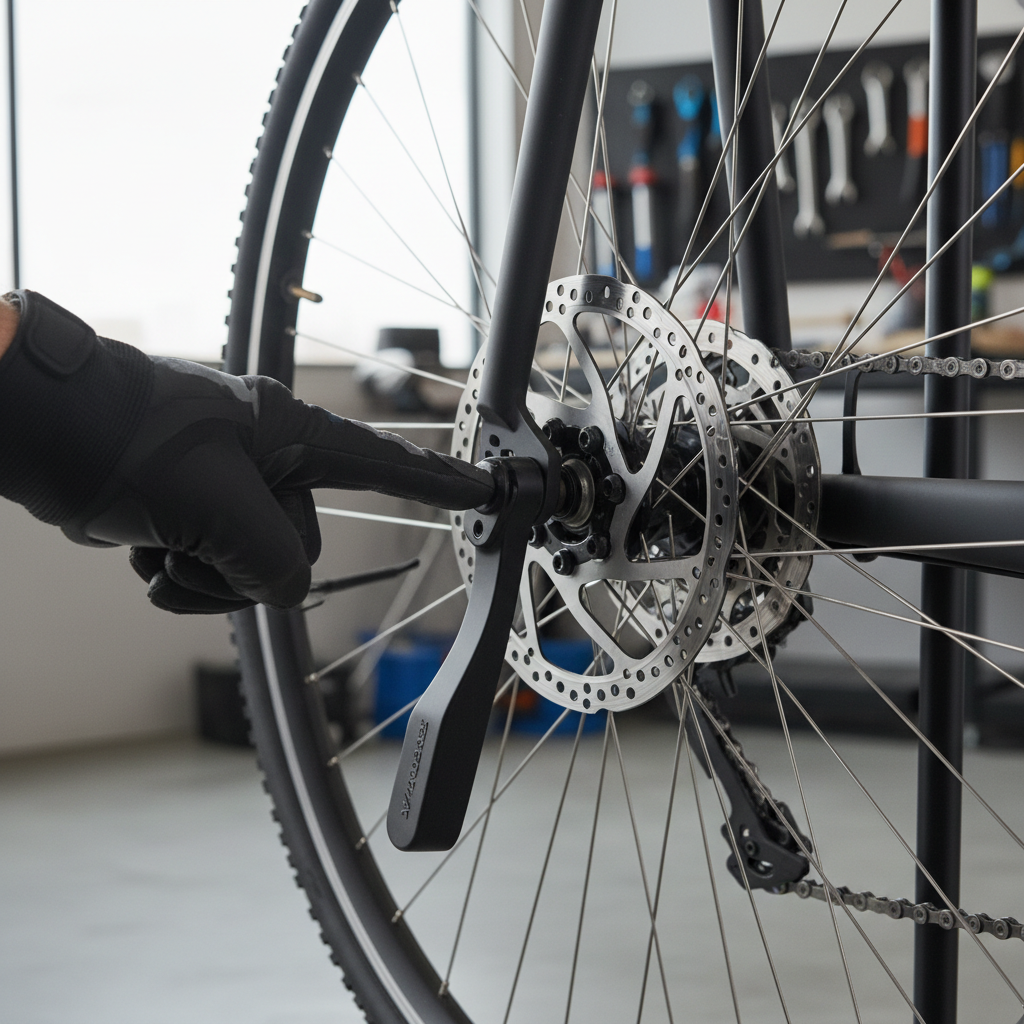
- Disc brakes: Confirm the stand won’t hit the rear rotor or caliper. Rear-mount stands are usually safer here.
- Full-suspension frames: Many are not kickstand-friendly because the swingarm moves; check the frame maker’s guidance.
- Carbon frames: Clamping can be risky; many manufacturers recommend avoiding clamp-style stands.
- E-bikes and cargo loads: Weight changes everything; a sturdier stand (often double-leg) may be worth it.
According to Trek, some frame designs are not compatible with kickstands and may require a specific mount or accessory, so it’s smart to check your bike’s manual or the brand’s support pages before clamping anything to the frame.
Tools and supplies you’ll actually use
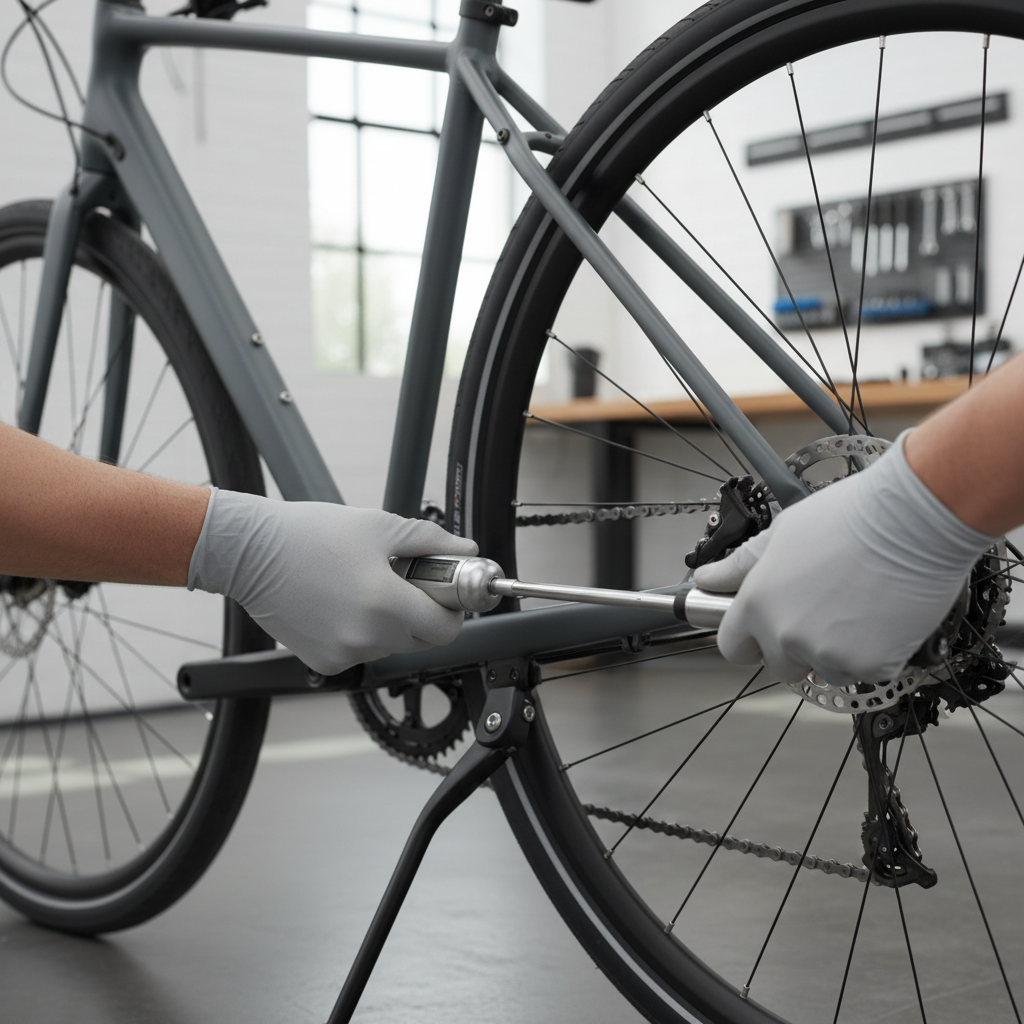
You can usually finish in 15–30 minutes. If you have a torque wrench, use it, especially with aluminum and any clamping hardware.
- Allen/hex keys (commonly 4, 5, or 6 mm)
- Torque wrench with hex bits (recommended)
- Rag or paper towels
- Degreaser or rubbing alcohol for cleaning the mounting area
- Grease (for bolts) or medium threadlocker (if the kickstand instructions call for it)
- Bike stand (nice to have), or flip the bike carefully onto soft grass/carpet
Key point: don’t mix grease and threadlocker on the same bolt. Use what the kickstand maker recommends, and when in doubt, light grease on threads is common for preventing corrosion and binding.
Before installation: a short self-check to avoid wobble later
Do this now and you’ll skip the annoying “it leans too far” redo later. It’s also where people trying to learn how to install a bike kickstand easily usually get tripped up.
- Wheel size and stand length: Many stands are adjustable; match the stated wheel size range (for example, 26–29 in).
- Mounting surface is flat: Paint drips, dirt, and curved tubing can cause creeping.
- Lean angle goal: A slight lean is stable; too upright tips easily, too leaned over stresses the mount.
- Clearance check: Make sure the folded stand won’t strike your heel, crank, chain, rotor, or spokes.
If you already have a kickstand and it slips, inspect the contact area for shiny “polished” spots, that often signals movement under load, usually fixed by cleaning, re-centering, and torquing correctly.
Step-by-step: install a rear-mount (KSA/direct mount) kickstand
This is one of the cleanest installs if your bike has the plate. The stand typically attaches with one main bolt (sometimes two), and a curved adapter piece that matches the plate shape.
1) Prep the mount
- Clean the plate area with alcohol/degreaser, then dry it.
- Check for any missing spacer/adapter in the kickstand box.
2) Position the kickstand
- Hold the stand against the plate, folded up, and verify rotor/caliper clearance.
- Align the bolt holes, keep the stand body snug to the plate.
3) Tighten in a controlled way
- Start the bolt by hand to avoid cross-threading.
- Tighten to the manufacturer’s torque spec if provided. If no spec is listed, tighten firmly but avoid “gorilla tight,” over-torque can strip threads or deform the mount.
4) Set length and lean angle
- If adjustable, extend until the bike leans slightly when parked on flat ground.
- Test with a gentle push from the saddle. If it feels sketchy, adjust again.
Practical tip: test with your typical load. A rear rack bag or panniers changes the lean angle more than people expect.
Step-by-step: install a center-mount clamp kickstand
Center-mount stands clamp between the chainstays behind the bottom bracket. They can be stable, but alignment matters, and frame shapes vary a lot.
1) Protect the frame (if needed)
Some kickstands include a protective shim. If yours does, use it. If not, avoid improvising thick rubber that can compress and loosen over time.
2) Align the clamp squarely
- Place the clamp so both sides sit evenly on the chainstays.
- Make sure the stand folds up cleanly without rubbing the chainrings or crank.
3) Tighten gradually
- Alternate between bolts a little at a time so the clamp closes evenly.
- Re-check alignment, then finish tightening to the stated torque, if provided.
According to Park Tool, using a torque wrench helps prevent over-tightening fasteners on bikes, which is especially helpful on clamp-style accessories where “a little more” can become “too much” quickly.
Quick reference table: which install path should you follow?
| Kickstand type | What you’re looking for on the bike | Typical difficulty | Common mistake |
|---|---|---|---|
| Rear-mount (KSA) | Mounting plate behind bottom bracket | Easy | Wrong adapter or rotor interference |
| Center-mount clamp | Clear space between chainstays | Medium | Clamp not centered, loosens later |
| Chainstay clamp | Round/compatible tube shape | Medium | Twists under load, heel strike |
| Double-leg stand | Strong mount + enough ground clearance | Medium–Hard | Bike won’t roll onto stand smoothly |
Troubleshooting: wobble, lean, noise, and clearance issues
If you followed the steps and it still feels off, it’s usually one of these. This is also where “how to install a bike kickstand easily” turns into “why does this keep moving,” so stay methodical.
Bike leans too far (or not far enough)
- Adjust the leg length, then retest on flat ground.
- Confirm tire pressure is normal; a soft rear tire can exaggerate lean.
- If non-adjustable, you may need a different size stand.
Kickstand slips or rotates around the frame
- Remove it, clean contact surfaces, reinstall, tighten evenly.
- Check for a missing shim/adapter piece.
- If it keeps creeping, the frame shape may not suit that clamp style.
Creaking or clicking when you park the bike
- Inspect bolts for looseness, then re-torque.
- Light grease on bolt threads can reduce noise, unless instructions specify threadlocker.
Heel strike when pedaling
- Reposition slightly rearward if the design allows.
- Consider a different style with a tighter “tucked” fold.
Safety notes and common mistakes to avoid
Kickstands look simple, but they put leverage on small areas. A few cautious habits prevent damaged frames and annoying failures.
- Don’t over-tighten clamps: Over-torque can deform tubes or strip bolts, especially on lighter frames.
- Be careful with carbon: Many carbon frames are not designed for clamp loads. If you’re unsure, ask a local bike shop or the frame manufacturer.
- Don’t ignore clearance: A stand that kisses the rotor, chain, or spokes can become a safety issue.
- Load changes stability: Panniers, child seats, or a heavy backpack can make the bike tip more easily.
If anything feels structurally wrong, like the mount area flexes or you see cracking paint around a clamp, stop using it and consider having a professional inspect the bike, especially if you ride often or carry cargo.
Practical “do this today” checklist
- Confirm your mount type (rear plate vs clamp) and disc brake clearance.
- Clean and dry the mounting area before tightening.
- Set the lean angle on flat ground with your normal riding load.
- Re-check bolts after a few rides; hardware can settle.
Once it’s dialed, how to install a bike kickstand easily becomes a one-time job you rarely think about again, you just park and walk away without the “is it going to fall” glance.
Conclusion: a stable kickstand is mostly fit + torque
If you want the simplest path, match the kickstand to your frame mount, take five minutes to align it carefully, then tighten to the maker’s spec when available. Your next step is straightforward: check your bike for a rear plate or clamp space, pick the correct stand style, and do a quick clearance test before your first real ride.