
how to install bike pedals easily usually comes down to two things people overlook: pedals thread in opposite directions, and a little prep prevents expensive thread damage.
If you’ve ever fought a pedal that “won’t catch,” heard a click every time you push, or worried you might be cross-threading your crank arm, you’re not alone. Pedals look simple, but the installation details matter more than most riders expect.
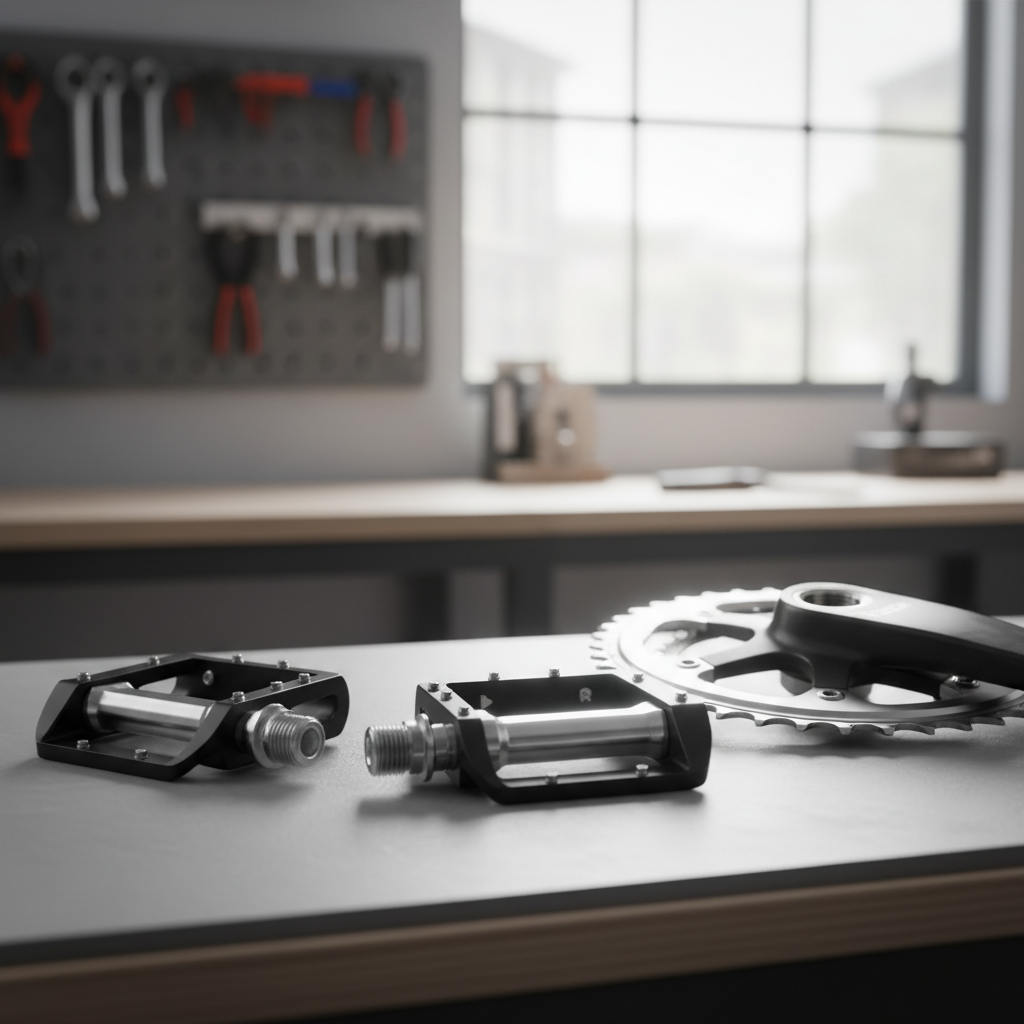
This guide focuses on practical, real-world install steps, what to check before you tighten, and a few habits that help you avoid stripped threads and mid-ride loosening.
What you need before you start
You can install pedals with minimal gear, but the right tools make it faster and reduce the chance of rounding anything off.
- Correct pedal wrench or hex key: Many pedals use an 8mm hex (from the back of the crank), others use a 15mm pedal wrench on the flats.
- Grease or anti-seize: Grease works for most setups; anti-seize is common on some metal-to-metal combinations. If you ride year-round in wet conditions, prep matters more.
- Clean rag: Dirt in threads is a quiet troublemaker.
- Optional torque wrench: Helpful if you like consistency, or if you’ve had pedals loosen before.
According to Park Tool, pedal threads are designed so the pedals tighten under pedaling forces when installed on the correct side, which is why identifying left vs right matters.
Left vs right pedals: the one detail that saves your crank
Most bikes use standard pedal threading: the right pedal tightens clockwise, the left pedal tightens counterclockwise. That left side is the one that surprises people.
Quick ways to identify sides:
- Look for a small “R” or “L” stamped on the pedal spindle or end cap.
- Hold the pedal so the spindle points at you: the thread “ramp” direction differs, but markings are easier.
- If you’re unsure, don’t force it, swap sides and try again by hand.
This is also why “it almost starts, then binds” often means you’re trying to thread the wrong pedal into that crank arm.
Step-by-step: how to install pedals without cross-threading
Here’s the sequence that tends to work in a garage, on an apartment balcony, or in a shop stand. The key is starting by hand, slowly.
1) Prep the crank threads
Wipe the crank’s pedal threads and the pedal spindle threads. If you see metal shavings, flattened threads, or shiny gouges, pause and consider a shop inspection, crank threads can be repaired in some cases, but forcing the issue makes it worse.
2) Add grease (more than a smear, less than a mess)
Put a thin, even coat on the spindle threads. Grease helps the pedal reach proper tightness without binding and makes future removal far less dramatic.
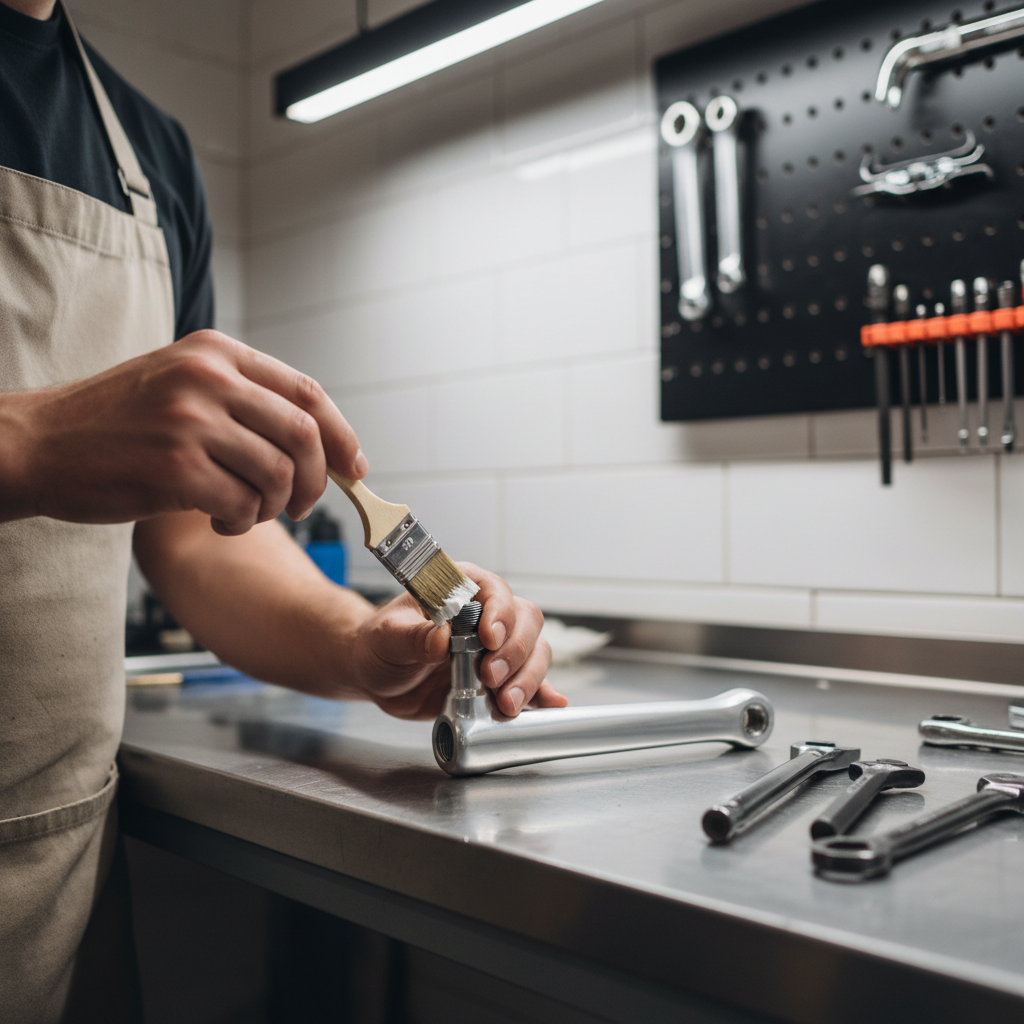
3) Start threading by hand
Thread the pedal in using only your fingers for the first few turns. If it doesn’t spin in smoothly, back it out and try again. This is the most reliable way to avoid cross-threading, especially if you’re learning how to install bike pedals easily without a stand.
4) Snug with a wrench or hex key
Once the pedal is fully threaded by hand, tighten with the correct tool. You want it secure, but not “gorilla tight.” In many setups, you’re aiming for firm resistance and a confident final snug.
5) Repeat on the other side, remembering the reverse thread
On the left side, tightening feels “backward” because it is. Check the L marking again before you commit.
How tight is tight enough? Practical torque guidance
If you have a torque wrench, follow the pedal manufacturer’s recommendation. Many common pedals land in a typical range riders describe as “solidly tight,” but exact numbers vary by brand, spindle material, and crank type.
Without a torque wrench, a helpful rule of thumb:
- Use a normal-length pedal wrench or hex key and tighten until it’s firm, then give a small additional snug.
- Avoid extending the tool with a pipe, that’s how threads get stressed.
- If you’re installing into carbon cranks, high-end crank systems, or unusual adapters, consider checking the brand documentation or asking a mechanic.
According to Shimano, following the specified tightening torque for components helps reduce loosening and protects parts from damage, which matters if you’re mixing brands or rebuilding frequently.
Fast self-check: are your pedals installed correctly?
Before your first ride, and again after a short shakedown, run through this list. It catches most “something feels off” situations early.
- Pedals spin freely on their bearings without grinding.
- No gap between pedal spindle shoulder and crank arm face (most pedals sit flush when fully seated).
- No side-to-side play at the pedal/crank interface.
- Correct sides: R on drive side, L on non-drive side.
- No creaks on the first ride: some noises come from other parts, but pedals are common suspects.
After 10–20 minutes of riding, re-check tightness. New installs can settle slightly, especially if surfaces weren’t perfectly clean.
Common mistakes (and what to do instead)
Most pedal issues aren’t mysterious, they’re just easy to miss when you’re in a hurry.
- Forcing the first turn: If it won’t start smoothly by hand, stop. Re-align and try again.
- Mixing up left and right: The left pedal’s reverse thread is the usual culprit. Check markings every time.
- Installing dry: No grease can lead to seized pedals later, and removal becomes a knuckle-busting event.
- Over-tightening: It can damage threads or make roadside removal nearly impossible.
- Ignoring ongoing creaks: A creak may be pedal threads, but it could also be chainring bolts, bottom bracket, saddle rails. Don’t assume.
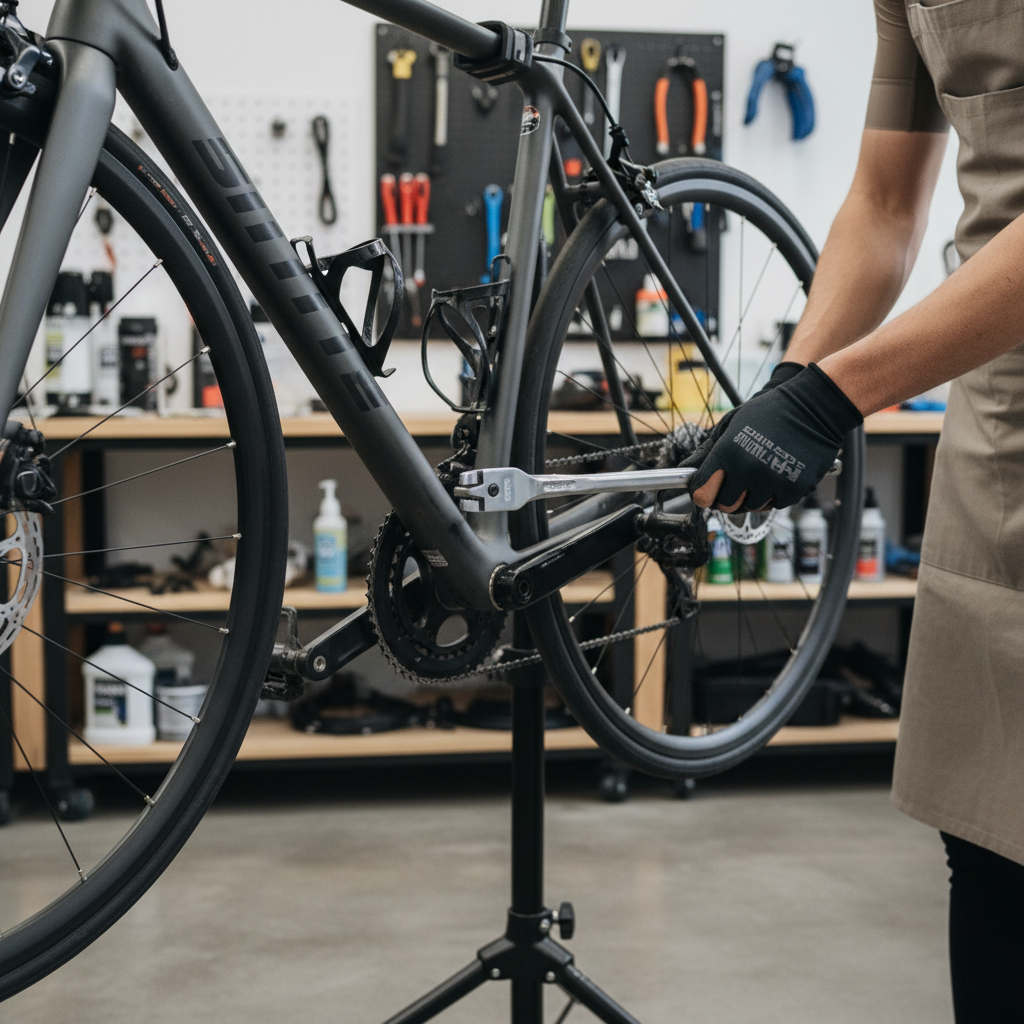
If your goal is how to install bike pedals easily and keep them quiet, the big win is simple: clean threads, grease, hand-start, then tighten with control.
Troubleshooting: stuck pedals, creaks, and stripped threads
Pedal won’t thread in
- Confirm you have the correct pedal for that side.
- Try threading with the crank arm positioned forward and level, giving you better control.
- Inspect threads under good light; if they look damaged, avoid forcing the pedal.
Pedal creaks after installation
- Remove, clean, re-grease, reinstall.
- Check cleats, shoe interface, and crank bolts if the noise persists.
- If it only creaks under high load, check for slight loosening after the first ride.
Pedal keeps loosening
- Make sure the pedal is on the correct side, reverse threading exists for a reason.
- Confirm crank threads aren’t worn; worn threads can feel tight but fail to hold.
- Consider professional inspection if loosening repeats, especially on older aluminum cranks.
Threads feel stripped or crunchy
Stop and get help. Many shops can chase threads with a tap or install a thread insert, but success depends on how much material remains. Continuing to ride may be unsafe, and damage tends to spread.
Quick reference table: what to remember while installing
| Item | Right (Drive) Side | Left (Non-Drive) Side |
|---|---|---|
| Pedal marking | R | L |
| Tightening direction | Clockwise | Counterclockwise |
| Best way to start | By hand, several turns | By hand, several turns |
| Thread prep | Light grease on threads | Light grease on threads |
Key takeaways before you ride
- Hand-threading first is your best protection against cross-threading.
- Left pedal tightens counterclockwise, check markings instead of guessing.
- Grease matters for both correct tightening and future removal.
- Re-check after a short ride, small settling can happen.
Conclusion: make it easy now, avoid headaches later
If you want how to install bike pedals easily without second-guessing, slow down at the start, thread by hand, and treat the left pedal like its own rule set. That’s the difference between a 5-minute job and a stripped crank arm.
Action step: do a quick 10-minute shakedown ride, then re-check pedal tightness and listen for any new noises, if anything feels wrong or threads look damaged, a local bike shop can usually diagnose it quickly and suggest the safest fix.