How to choose mountain bike shoes comes down to three things you can feel on the first ride: how stable your foot stays on the pedal, whether you get hot spots or numbness, and how confident you feel when you have to dab or hike.
It sounds like a simple gear pick, but shoes quietly decide a lot of your ride quality, especially on technical trails or long climbs where small pressure points become big problems.
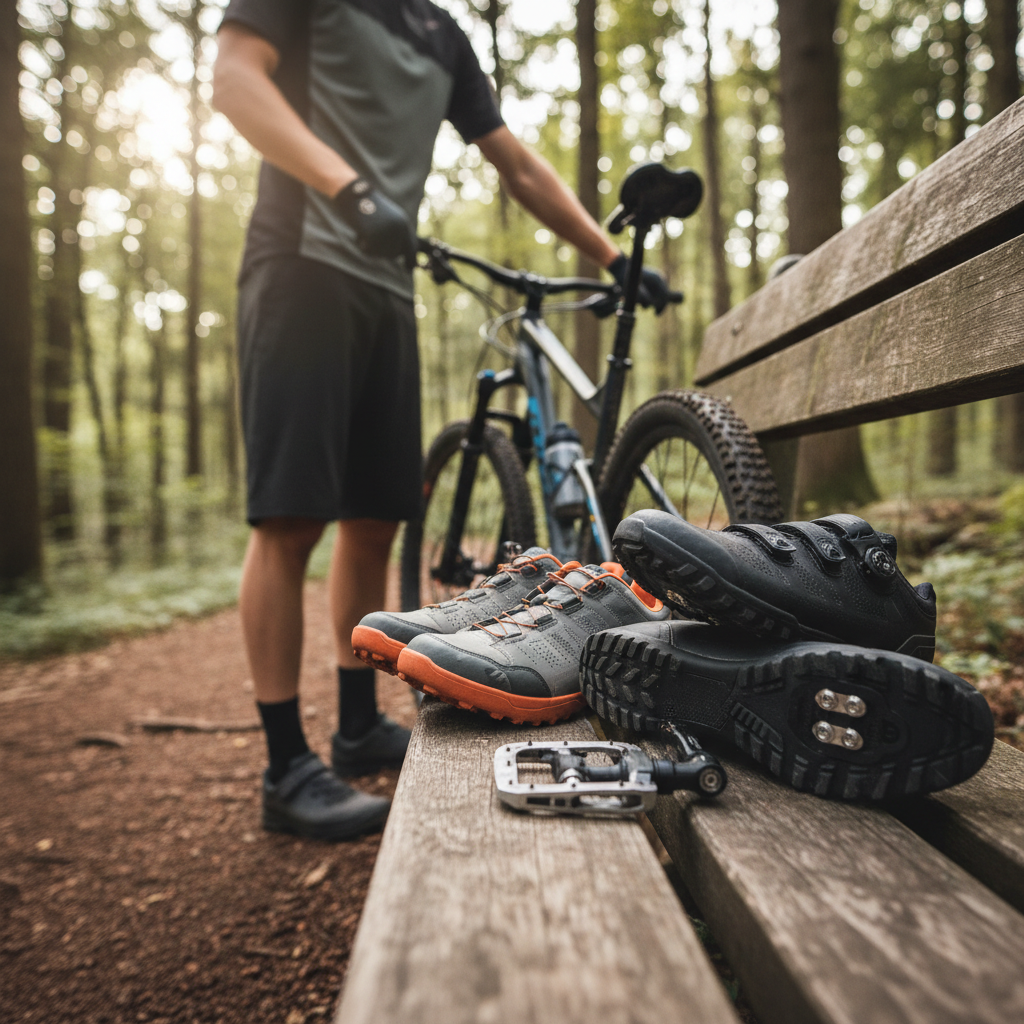
If you feel stuck between “flat vs clipless,” worried about sizing, or unsure what features actually matter, this guide breaks it into practical decisions you can make in 10–15 minutes, before you spend real money.
Start with your pedals: flat vs clipless (and what you really ride)
Before you look at brands or closures, match the shoe to the pedal system you use most. Plenty of riders own both, but your “main” setup should drive the purchase.
Flat shoes (platform pedals)
- Best for: beginners, bike park laps, technical trails where you reposition feet often, riders who hike-a-bike a lot
- Feel: grippy and predictable, easier to bail out, less “locked in” on hard sprints
- What matters most: sticky rubber outsole and a supportive midsole so pins don’t bruise your foot
Clipless shoes (SPD-style for MTB)
- Best for: longer climbs, XC/trail riders who value consistent foot placement, riders who want more pedaling efficiency
- Feel: stable and connected, easier to keep cadence on rough climbs, takes practice for quick unclipping
- What matters most: cleat pocket design, stiffness level, and walkability (lug shape) for off-bike sections
According to IMBA (International Mountain Bicycling Association), mountain biking involves changing terrain and conditions, so comfort and control tend to matter as much as pure efficiency when choosing gear.
Fit is the dealbreaker: how to size MTB shoes without guessing
Most “bad shoe” stories are really fit issues. You can buy premium shoes and still end up with numb toes if the shape is wrong for your foot.
- Toe room: you want a little wiggle space, but not so much your foot slides forward on steep descents.
- Heel hold: your heel should stay planted when you walk; heel lift on the shop floor becomes rubbing on trail.
- Width and volume: some shoes run narrow; if you regularly size up to fix width, look for wide options instead.
- Sock reality: try them with the socks you actually ride in, not ultra-thin dress socks.
Quick in-store test: tighten normally, then do a few hard heel raises and a short “stomp” as if you’re bracing on rough trail. If your foot swims, you’ll feel it immediately.
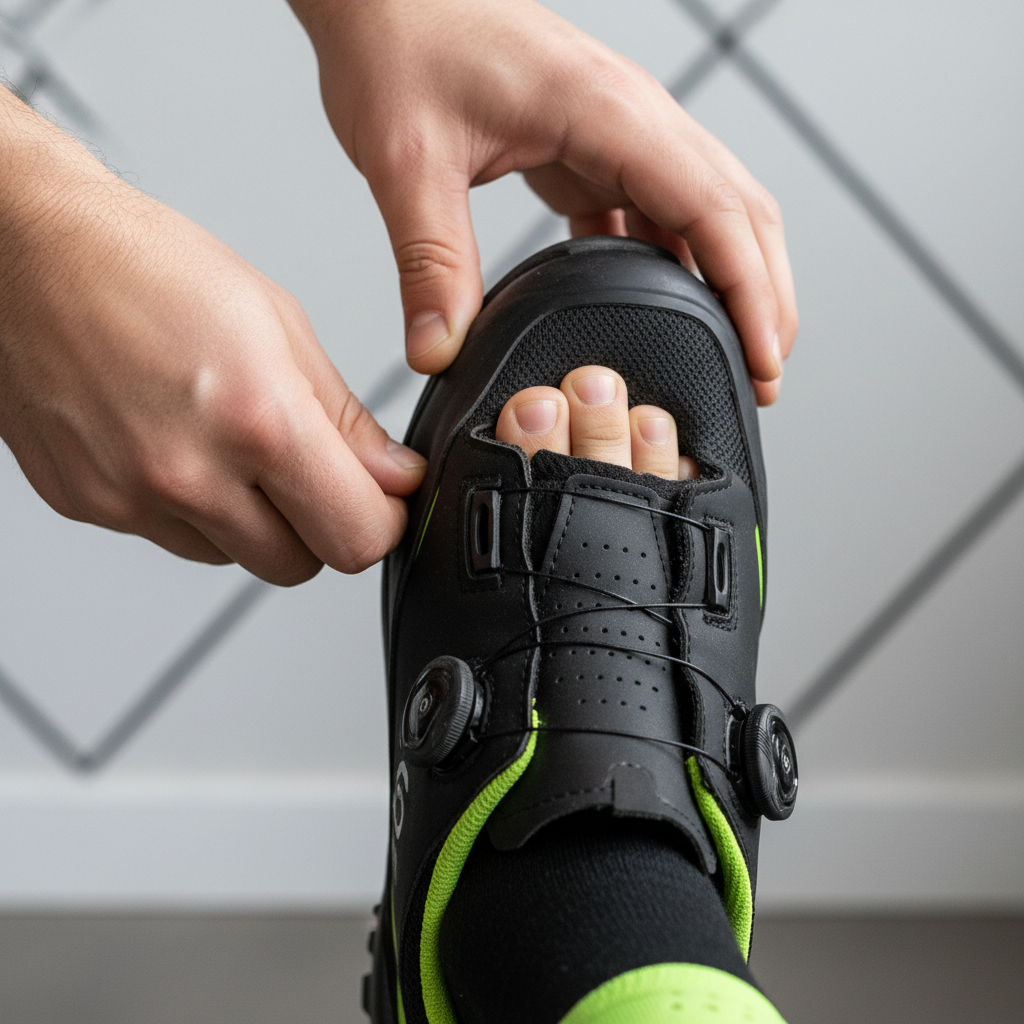
If you’re between sizes, the safer move often depends on brand sizing and foot shape. Many riders do better staying true to size and choosing a wider last, but if your toes touch the front when standing, that usually becomes a problem on descents.
Choose the right stiffness: power vs comfort vs hike-a-bike
Sole stiffness is where marketing gets loud, but the “right” level depends on ride length and how much you’re off the bike.
- Softer/flexier: more comfortable walking, better “feel” on flats, often preferred for bike park and all-mountain days.
- Medium stiffness: the practical sweet spot for most trail riders, enough support without feeling like a ski boot.
- Very stiff: efficient on long climbs and sprints, but can feel harsh if fit isn’t perfect, and walking traction matters more.
If you get foot fatigue or hot spots, going a touch stiffer can help because it spreads pressure across the foot. On the flip side, if you hike rocky sections, too stiff can feel awkward and slippery.
Outsole and traction: rubber, lugs, and pedal compatibility
This is where mountain bike shoes differ from road shoes in a way you’ll notice fast.
For flat pedals
- Rubber compound: stickier rubber usually grips pedal pins better, but can wear faster.
- Tread pattern: flatter contact area under the pedal with some edge lugs for walking traction.
- Midsole support: prevents pedal pins from creating pressure points.
For clipless (SPD) pedals
- Cleat recess: deeper recess can improve walkability, but too deep may make clipping-in feel vague.
- Lug shape: chunkier lugs add grip in mud and on rocks, but may interfere with some pedal bodies.
- Replaceable toe/heel lugs: nice on higher-end shoes if you walk a lot, though not essential for everyone.
Practical tip: if you ride wet roots and slick rocks, prioritize walk traction even if you think you “never walk.” Trail surprises happen.
Closure systems: laces, Velcro, BOA—what’s worth paying for
Closure choice changes how evenly the shoe tightens, and how easy it is to adjust mid-ride. This is less about “premium” and more about your habits.
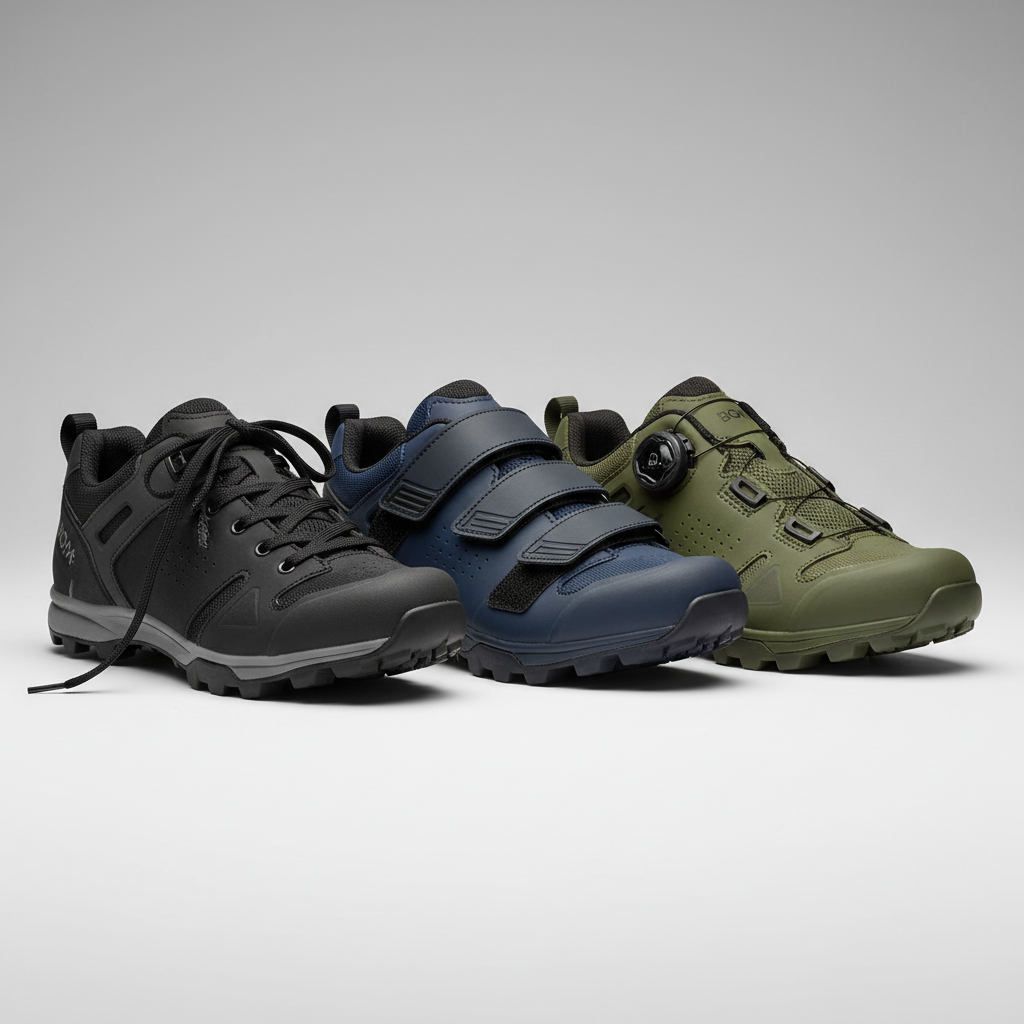
- Laces: comfortable and evenly distributed pressure, great for flats and casual trail shoes; watch for lace management so they don’t snag.
- Velcro straps: simple and reliable, but can lose bite over time and may create pressure points for some feet.
- Dial systems (often BOA): quick micro-adjustments, helpful if your feet swell on long rides; if the fit shape isn’t right, a dial won’t fix it.
- Hybrid: lace + strap or dial + strap, common on trail/enduro shoes for a locked-in feel.
If you frequently stop to adjust, a dial system can be genuinely convenient. If you set it and forget it, laces or straps may do the job just as well.
Protection and climate: toe caps, uppers, ventilation, and weather
Trail shoes live a rough life: pedal strikes, rock kicks, dust, creek crossings. Protection features can be the difference between “annoying” and “ride-ending.”
- Reinforced toe box: valuable for rocky trails and enduro riding, less critical for mellow XC.
- Uppers: synthetic uppers dry faster; heavier materials may feel durable but can stay wet longer.
- Ventilation: great in hot climates, but very open mesh can feel cold or soak quickly in shoulder seasons.
- Water resistance: helpful in wet regions, but “waterproof” often trades breathability; consider it a tool, not a universal upgrade.
For safety and comfort, if you regularly ride in extreme heat, cold, or have circulation concerns, it may help to consult a medical professional about footwear and fit choices.
A quick decision table (and a 5-minute self-check)
If you want a fast filter, this table gets you close, then you refine with fit and features.
| Riding style | Pedal type | Sole feel | What to prioritize |
|---|---|---|---|
| Bike park / jumps | Flat | Medium | Sticky rubber, toe protection, lace security |
| Trail (mixed climbs/descents) | Flat or clipless | Medium | Fit, midsole support, walk traction |
| XC / long climbs | Clipless | Medium-stiff to stiff | Heel hold, stiffness, easy adjustment |
| Enduro / rocky terrain | Often clipless | Medium-stiff | Protection, secure closure, grippy lugs |
| Gravel + light singletrack | Often clipless | Medium | Walkability, ventilation, all-day comfort |
5-minute self-check checklist
- Do I reposition my feet often? If yes, flats or a more forgiving clipless setup usually feels better.
- Do I ride 2+ hours regularly? If yes, prioritize fit and pressure distribution over looks.
- Do I hike rocky sections? If yes, lug traction and walk comfort deserve extra weight.
- Do my feet go numb? If yes, check width/volume and avoid overtightening; insoles may help.
- Do I ride wet/muddy trails? If yes, consider lug pattern and materials that dry reasonably fast.
How to choose mountain bike shoes: a practical buying process
When you’re actually shopping, this sequence keeps you from overthinking and still avoids the common mistakes.
- Step 1: confirm pedal system and cleat type if clipless (most MTB uses 2-bolt SPD-style cleats).
- Step 2: decide your “non-negotiable” comfort needs: wide fit, heel hold, room for toes.
- Step 3: pick a stiffness range that matches your typical ride, not your aspirational ride.
- Step 4: choose closure based on adjustment habits and pressure sensitivity.
- Step 5: try on late day if possible, feet often swell a bit; walk, squat, and mimic a pedal stance.
Key takeaways: how to choose mountain bike shoes becomes much easier once you treat fit and pedal match as the main decision, and everything else as a tie-breaker.
Common mistakes (that cost money) and when to get expert help
These are the patterns that show up again and again, especially for newer riders.
- Buying too small for “performance”: cramped toes often feel fine in a store, then hurt on descents.
- Chasing maximum stiffness: if your fit is even slightly off, stiff soles can amplify pain instead of improving power.
- Ignoring insoles: stock insoles are often basic; if you have high arches or persistent hot spots, a supportive insole may help.
- Wrong cleat position: clipless discomfort is frequently setup-related, not shoe-related.
If you have ongoing numbness, sharp pain, or a history of foot issues, it’s reasonable to ask a reputable bike shop for a cleat-fit check, and consider consulting a podiatrist or other qualified clinician for persistent problems.
Conclusion: how to choose mountain bike shoes is mostly about matching your pedals, getting a shape that truly fits, and choosing the right level of support for your usual terrain. Start there, then spend extra only on features you’ll actually use.
If you want one action today, try on two different fit shapes back-to-back and do a short “stomp and walk” test in each, the better option usually becomes obvious.