
how to install bike fenders easily comes down to two things most people skip: confirming fit before tightening anything, and aligning the stays so nothing rubs when the wheel flexes.
If you ride in rain, through puddles, or on gritty winter roads, fenders are one of those upgrades that feel “optional” until you’ve had a soaked backside, dirty drivetrain, and constant spray in your face. Installed well, they’re quiet, stable, and you forget they exist.
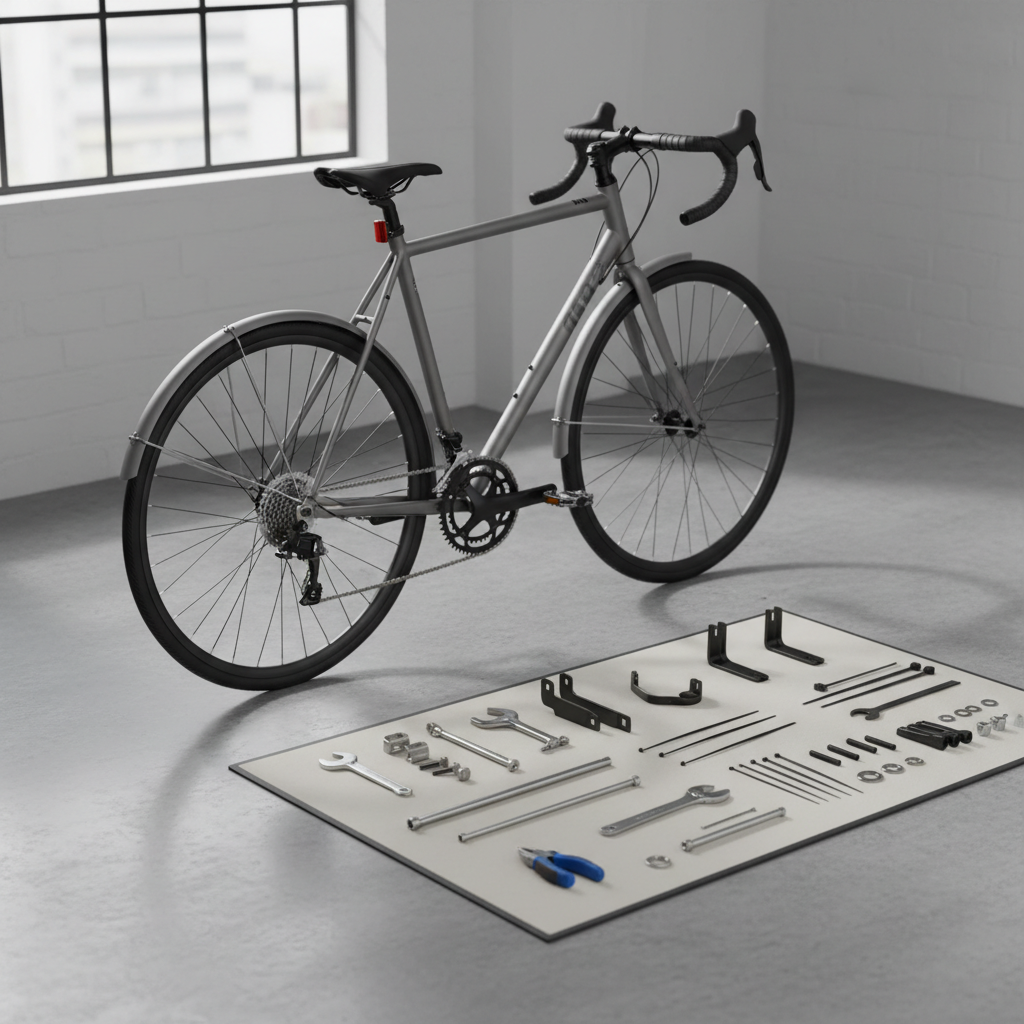
One quick note before we get into steps: “quick” doesn’t mean rushing the bolts. The fastest installs are the ones where you dry-fit everything, adjust once, then torque down and stop thinking about it.
Choose the right fender style (fit is 80% of the battle)
Before you touch a tool, make sure the fenders match your bike’s wheel size, tire width, and mounting points. Most frustration comes from buying a set that almost fits.
- Full-coverage bolt-on fenders (commuter/touring): best coverage, usually quietest, need eyelets or adapters.
- Clip-on fenders (quick release): faster to mount, less coverage, can move on rough roads.
- MTB “downhill-style” guards: simple protection for mud, not true road spray control.
Clearance matters more than people expect. If your tire nearly kisses the frame, a full fender may rub no matter how carefully you align it.
Tools and parts checklist (so you don’t stop mid-install)
Most kits include the basics, but not always the “make it quiet” extras.
- Allen keys (commonly 4mm/5mm), small wrench or adjustable spanner
- Side cutters (for trimming stays if required)
- Blue threadlocker (optional, helps reduce bolts loosening)
- Zip ties or small P-clamps (for bikes without ideal mounts)
- Rubbing alcohol and a rag (clean contact points)
Safety note: if you’ll be trimming metal stays, wear eye protection and go slow. Sharp edges and flying fragments are a real risk.
Quick self-check: does your bike have the mounts you need?
Take 60 seconds and look for these on your frame and fork:
- Eyelets near the rear dropout and fork ends (threaded holes for fender stays)
- Bridge mount under the fork crown and between seatstays (or at the chainstay bridge)
- Disc brake clearance around calipers and rotors if you run discs
If you don’t see eyelets, don’t panic. Many kits support adapters, and many bikes can use P-clamps on the fork/blades or clip-on alternatives, just expect more trial-and-error.
Install steps: front fender (fast, straight, no rub)
Front fenders feel fiddly because the fork moves and clearances are tight, but the sequence below keeps it simple.
1) Loosely mount the fender at the fork crown
Attach the fender bracket to the fork crown (or behind the brake bolt on some setups). Keep it finger-tight so you can slide and rotate the fender during alignment.
2) Attach stays loosely, then center the fender
Connect both stays to the fender, then to the fork eyelets (or adapters). Don’t fully tighten. Spin the wheel, sight down the tire, and center the fender so the gap looks even on both sides.
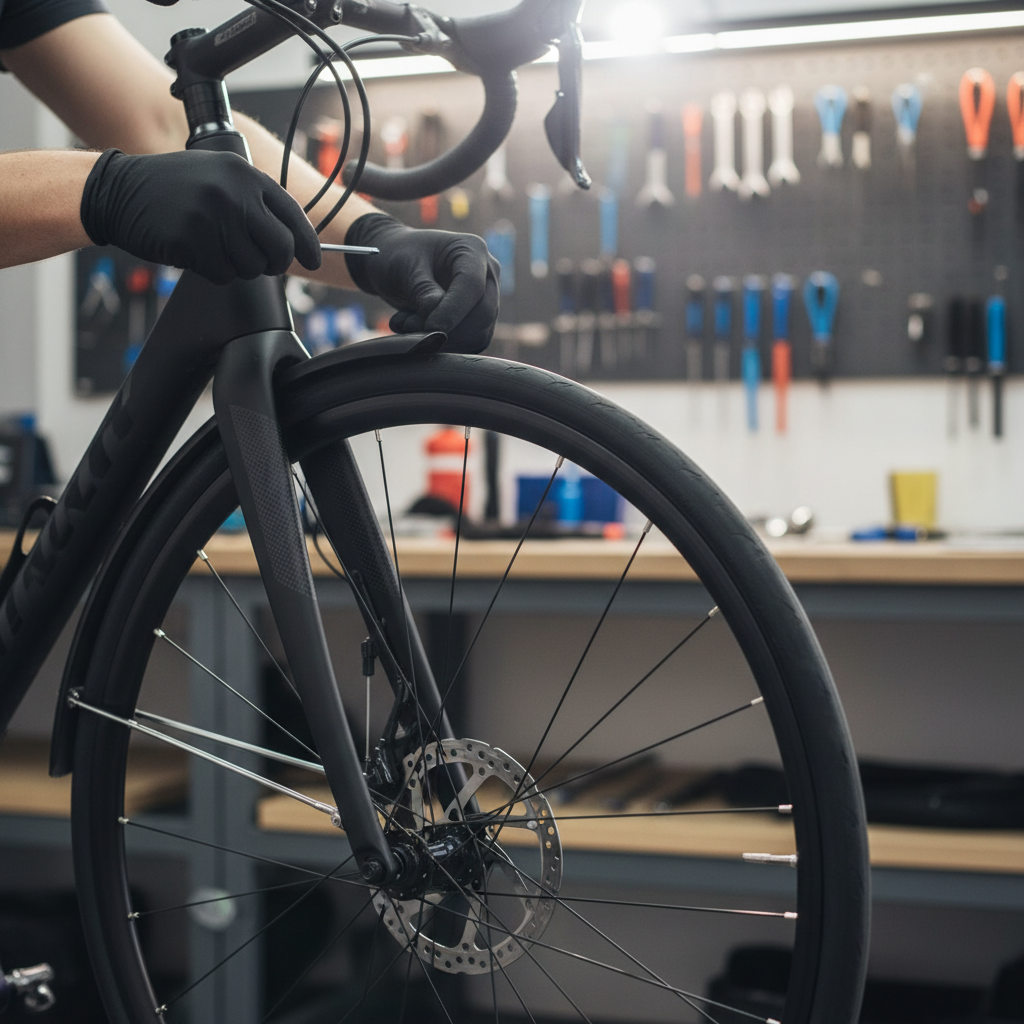
3) Set toe clearance and trim stays if needed
Angle the front tip so it doesn’t catch your toe or scrape curbs. If your kit requires shortening stays, mark the cut, remove the stay, cut carefully, then deburr so it won’t chew through plastic or your fingers later.
4) Tighten in this order
- Crown bolt
- Stay bolts at the fork
- Stay bolts at the fender
Spin the wheel again. If you hear a faint tick, it’s usually a stay touching the fender or a slightly off-center arch.
Install steps: rear fender (where most rattles start)
Rear installs take a bit longer because you’re working around the drivetrain and seatstay/chainstay bridges.
1) Loosely mount the fender to the rear bridge
Most bikes have a mounting point between the seatstays or at the brake bridge. Attach loosely so you can shift the fender left/right.
2) Add the chainstay bridge mount (if your fender uses one)
Some fenders also attach near the bottom bracket area. This point prevents wagging. Keep it loose until the stays are set.
3) Install stays and center the fender over the tire
Attach stays to dropout eyelets (or adapters). Before tightening, check for interference with:
- Rear derailleur movement and cable routing
- Disc caliper area (if applicable)
- Racks or pannier mounts sharing the same eyelet
4) Tighten and “stress test” by hand
After tightening, grab the fender near the end and gently wiggle side-to-side. It should feel stable without forcing the tire to one side. If it flexes a lot, the stays are often too long, too angled, or not evenly tensioned.
Common fit issues and quick fixes (use this table)
Most problems are predictable. Here’s a practical troubleshooting map.
| Problem | What it usually means | Fix to try |
|---|---|---|
| Fender rubs only at one spot | Fender not centered, or stay tension uneven | Loosen stays, re-center by eye, tighten gradually while spinning wheel |
| Constant rattling on bumps | Loose bolts, missing washer, or long unsupported span | Add washers, use blue threadlocker, add a bridge mount/zip tie support |
| Fender hits tire during hard turns | Clearance too tight for tire size or wheel flex | Raise fender, reduce tire size, or switch to a higher-clearance fender style |
| Stay ends feel sharp or snag | Stays cut without deburring/caps | File the edge, add end caps, ensure nothing points toward the tire |
| Rear fender shifts toward drivetrain | Shared eyelet with rack or misaligned adapter | Use spacers, separate mounts, or a different adapter stack |
Key points for a “quiet” install (the stuff experienced riders actually do)
This is where “how to install bike fenders easily” becomes “install them once and stop thinking about them.”
- Leave all bolts loose until alignment looks right, then tighten gradually.
- Aim for even gap around the tire, not the closest possible fit.
- Make stays symmetrical in angle and length when possible, it reduces twist.
- Use threadlocker sparingly on bolts that loosen over time, especially on rough roads.
- Re-check after 1–2 rides, parts can settle and adapters can rotate slightly.
According to Park Tool, correct bolt torque and secure mounting are key to avoiding parts loosening and noise over time, and when you’re unsure, checking a torque spec chart for common fasteners can prevent overtightening.
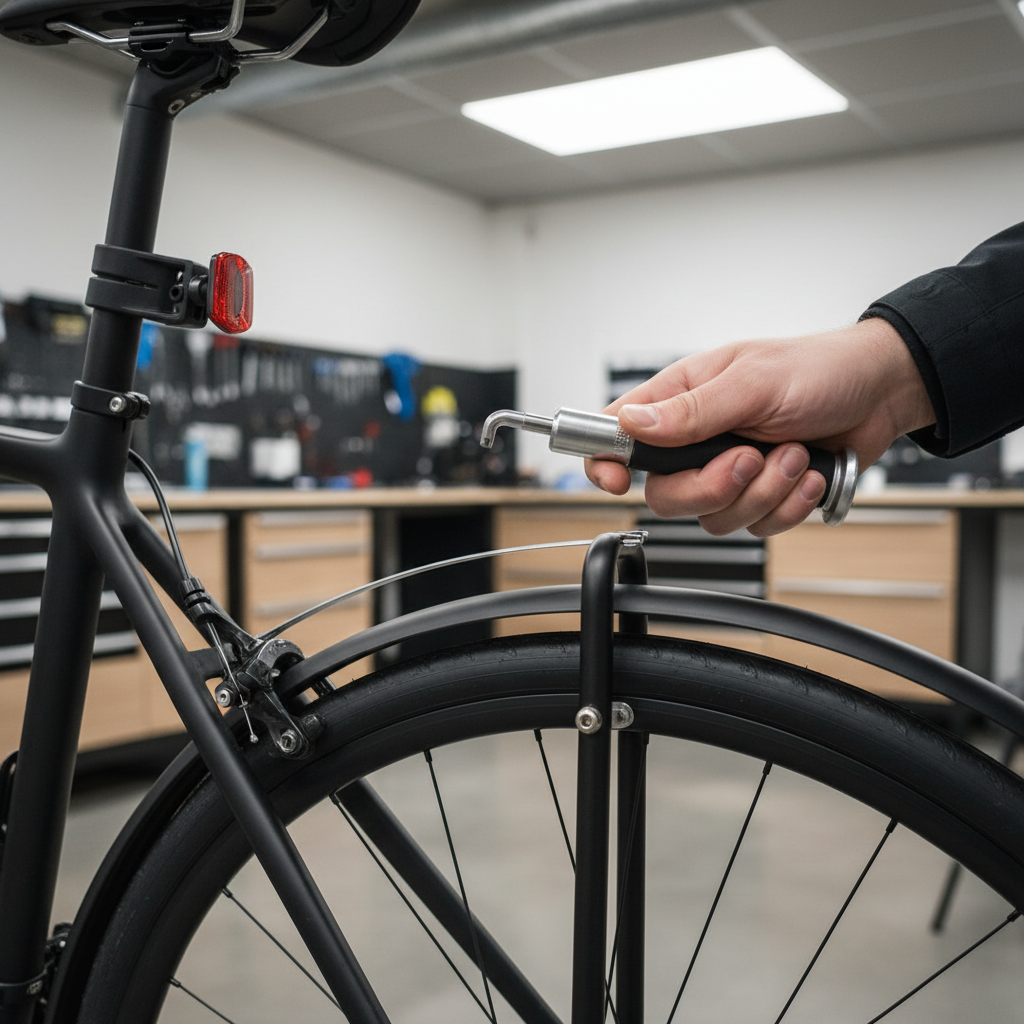
When to stop DIY and ask a bike shop
Most fender installs are very doable at home, but a few scenarios can turn into a time sink or a safety concern.
- You need to route around disc calipers, racks, and lighting mounts all at once
- Your frame lacks mounts and you’re relying on multiple adapters that keep slipping
- The fender sits close enough to the tire that any wheel wobble causes rubbing
- You’re unsure about trimming stays or modifying hardware
If you suspect your wheel is out of true or your tire is oversized for the frame, a shop can help confirm clearance quickly. That’s often cheaper than buying a second fender set out of frustration.
Practical wrap-up (a quick plan you can follow today)
If your goal is speed, do a dry fit, center the fender with the wheel spinning, then tighten in a smart order. That workflow is what makes how to install bike fenders easily feel real instead of wishful thinking.
- Before you start: confirm tire width and mounting points.
- During install: keep bolts loose until alignment looks clean.
- After install: re-check tightness after a couple rides, especially if you hear new noise.
If you want, grab your kit and do the front fender first. Once you see how alignment works up front, the rear becomes much less mysterious.