
how to wear cycling leg warmers comes down to two things most riders overlook: where the grippers sit, and how you layer them with your bibs, socks, and shoes.
If they slide, pinch behind the knee, or bunch at the ankle, you end up fiddling mid-ride and losing the whole point of adding a flexible “warmth switch” for shifting temps.
This guide breaks the process into practical steps, plus a quick checklist to diagnose what’s going wrong, and a few real-world fixes you can do even when you’re already rolling.
What cycling leg warmers are (and when they actually help)
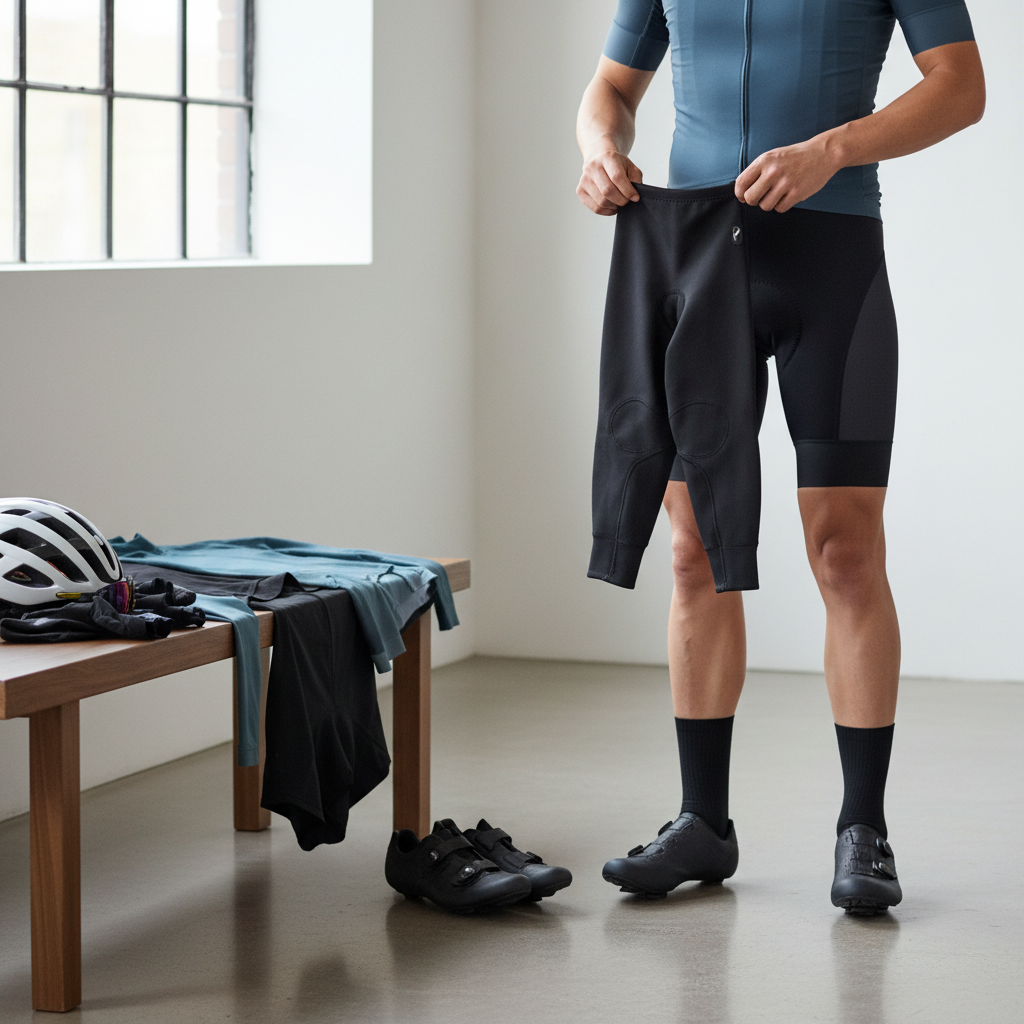
Leg warmers are removable sleeves that cover from ankle to upper thigh, designed for cool starts, variable spring/fall days, or long descents where your legs chill fast.
They work best when your core feels fine but your knees or lower legs start to feel “sharp-cold.” Many riders use them in shoulder seasons because they’re easier to vent than tights.
- Best use cases: chilly mornings, big temperature swings, windy rides, long downhill sections.
- Less ideal: steady rain without a shell layer, or deep-winter temps where full tights usually feel simpler.
According to USA Cycling, layering choices should match conditions and you should adjust for wind and changes across the ride, which is exactly where leg warmers shine as a modular layer.
Fit basics: getting size, length, and grippers right
If you want to know how to wear cycling leg warmers so they stay put, start with fit, not tricks. Sliding usually means the top is too loose, and knee discomfort often means the fabric is being pulled too tight across the joint.
What “good fit” feels like
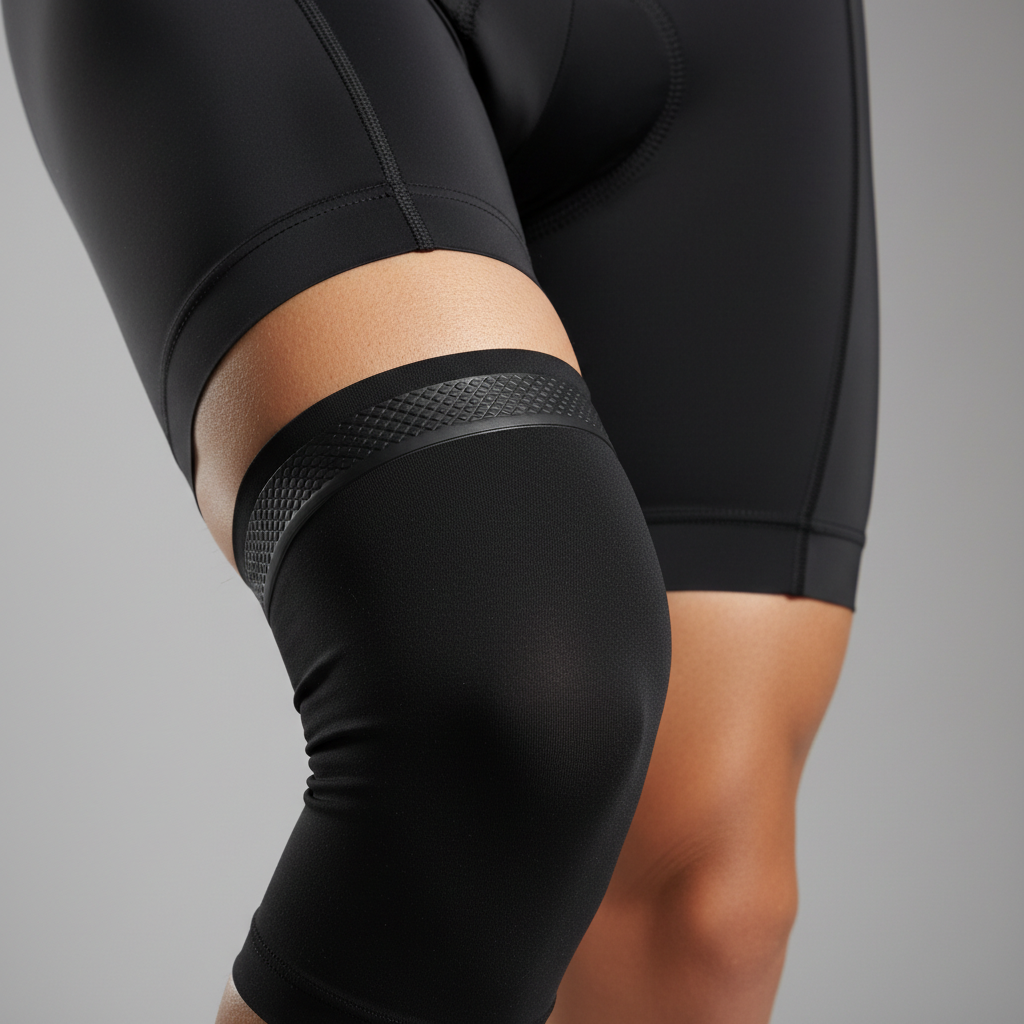
- Top gripper: snug on the upper thigh, not cutting off circulation, no rolling edge.
- Knee area: smooth when you bend your knee, no tight band behind the knee.
- Ankle cuff: sits flat, doesn’t balloon inside the shoe or ride up the calf.
Length: don’t guess
Many brands offer multiple lengths. If you’re tall, a standard length can tug down at the ankle and pull the top gripper off your thigh over time. If you’re shorter, extra-long warmers can stack fabric at the ankle and cause bunching.
Rule of thumb: you want full coverage of the knee with a little overlap above and below when you’re in riding position.
Step-by-step: how to put on cycling leg warmers
There are a few acceptable orders, but the goal stays the same: keep the top gripper high and stable, and keep the knee panel centered.
Option A (most common): warmers under bib shorts
- Pull the warmer up to mid-thigh, then keep going until the top gripper sits high on the thigh.
- Align the knee area so it sits centered when your knee is slightly bent.
- Pull bib shorts on over the warmer so the short hem helps lock the top in place.
- Smooth wrinkles down toward the ankle, don’t “yank” from the bottom.
This setup typically reduces sliding, especially for smoother fabrics, and it looks cleaner.
Option B: warmers over bib shorts (only for specific cases)
Some riders do this if they plan to remove warmers mid-ride without taking shoes off and their warmers unzip at the ankle. The tradeoff is the top may slip more easily unless the gripper is aggressive.
Socks and shoes: avoid the ankle mess
- If you wear tall socks, either overlap slightly or leave a small gap—both can work, but avoid a thick “double ridge.”
- Make sure the ankle cuff doesn’t fold into your shoe opening, that’s a common cause of rubbing.
Quick self-check: why yours slide, bunch, or feel wrong
Before you buy anything new, run this fast diagnosis. Most problems trace back to one of these.
- Sliding down over 30–60 minutes: top too loose, sweat reducing grip, or bib hem not overlapping enough.
- Bunching behind the knee: warmer too long or fabric tension wrong, knee panel not centered.
- Ankle “accordion” folds: too much length, cuff too loose, or shoe/sock overlap too bulky.
- Cold knees anyway: material too light for conditions, wind cutting through, or gaps around knee when pedaling.
- Numb/tingly lower leg: too tight, especially if you sized down; consider changing size and consult a professional if it persists.
Practical fixes by scenario (without overthinking your kit)
Here’s the part riders usually want: what to do when the “textbook” approach still feels off.
If your leg warmers keep sliding
- Wear them under bib shorts so the short hem adds friction and holds the gripper up.
- Dry your skin before putting them on; sunscreen/sweat can reduce grip.
- Try a different size if you’re between sizes; sliding often means you need more compression at the top.
- For stubborn cases, choose warmers with a wider silicone gripper rather than a thin elastic band.
If the knee feels tight or “grabby”
- Re-center the knee section while standing with a slight bend, then smooth fabric upward, not downward.
- Avoid twisting the warmer as you pull it up; that torque shows up at the knee once you pedal.
- If you have larger quads/calves, a size up can feel better even if the top seems okay at first.
If your ankles bunch inside shoe covers
- Put shoe covers on last, then smooth the warmer cuff so it lies flat under the cover’s edge.
- Consider a “raw cut” ankle or a slimmer cuff design for tighter overshoes.
Layering strategy by temperature and ride type (simple table)
There’s no universal temperature chart because wind, humidity, effort level, and your cold tolerance matter, but a simple framework helps you choose without guesswork.
| Conditions (typical) | Good leg warmer choice | Pair with |
|---|---|---|
| Cool start, warms up later | Lightweight or thermal-knit warmer | Short-sleeve jersey + packable vest |
| Windy route or long descents | Wind-resistant front panel (if available) | Wind vest or light shell |
| Steady chilly all ride | Fleece-lined thermal warmer | Long-sleeve jersey, warmer gloves |
| Damp roads, occasional drizzle | Water-shedding fabric (DWR-treated) | Light rain shell; consider fenders off-road |
Key point: if you’re constantly stopping to add/remove layers, you may be underestimating wind chill or overestimating how much heat your legs produce at easy pace.
On-bike adjustments and removal: what’s realistic mid-ride
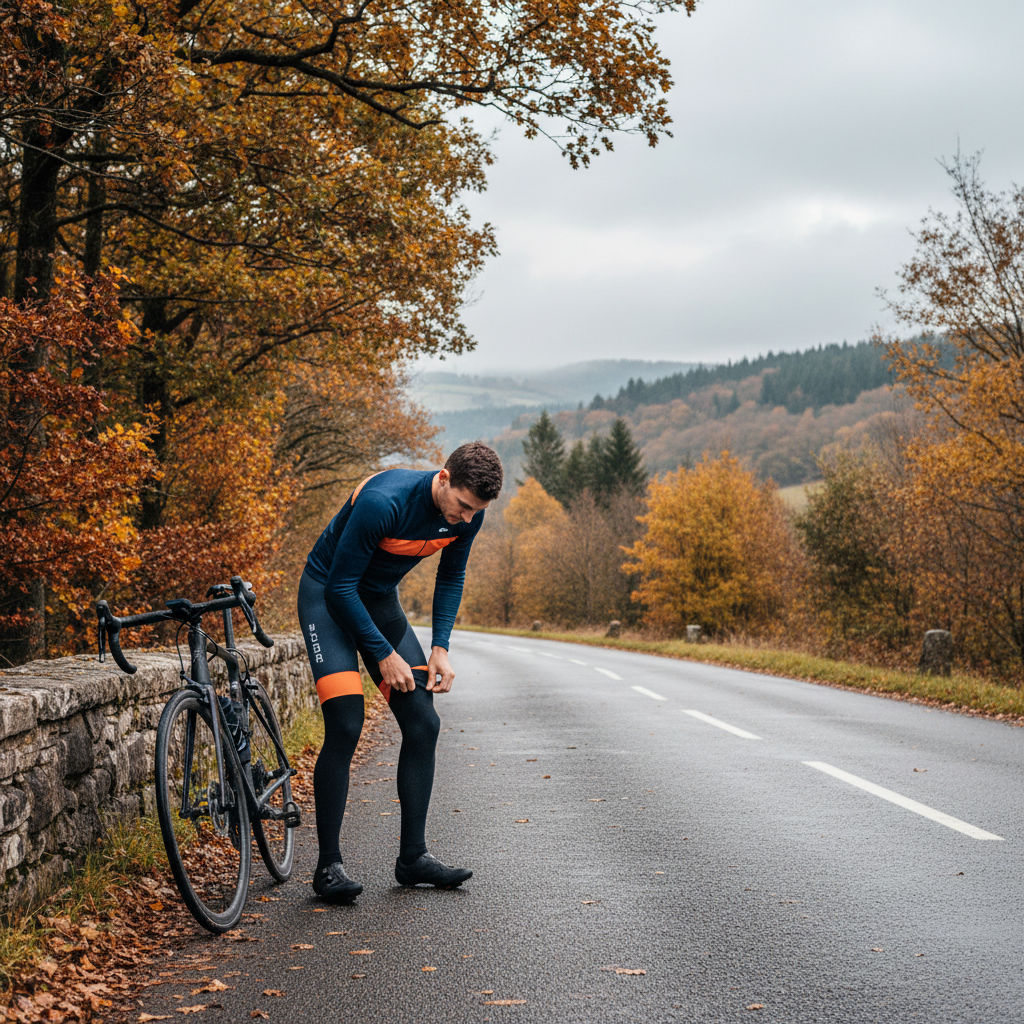
If you’re planning to take warmers off during a ride, be honest about the logistics. Most leg warmers require removing shoes unless they have ankle zips that open wide enough.
- Small adjustment while rolling: smoothing a wrinkle at the knee or pulling the top up a half-inch can be safe if you soft-pedal, but use judgment.
- Full removal: safest at a stop. If you must remove them often, consider models with ankle zippers or switch to knee warmers.
- Packability: fold from ankle to thigh, then roll; store in a pocket or small saddle bag to avoid losing one.
According to the National Highway Traffic Safety Administration (NHTSA), distractions increase crash risk; with cycling clothing, that translates to making bigger adjustments while stopped, not while weaving through traffic.
Common mistakes that make leg warmers feel “bad”
- Pulling from the ankle to tighten: it usually creates knee wrinkles and ankle bunching.
- Too much overlap everywhere: bib hem + thick sock + overshoe can stack pressure points.
- Assuming one pair covers all seasons: fabric weights vary a lot; a light warmer can feel useless in strong wind.
- Ignoring skin sensitivity: some silicone grippers can irritate; if you react, consider different gripper styles and ask a clinician if irritation persists.
Conclusion: a clean setup that stays put
Once you nail how to wear cycling leg warmers, they stop being a fussy accessory and become a reliable, adjustable layer you can trust on unpredictable days.
Start by getting the top gripper high on the thigh, center the knee panel with a slight bend, then lock it in under your bib hem. If something still feels off, use the self-check list to target the real cause instead of fighting the fabric.
Action step: on your next ride, do a two-minute fit test at home in riding position, then note whether the issue is top grip, knee alignment, or ankle bulk, and adjust just that one variable.
Key takeaways:
- Under-bib layering solves many sliding problems.
- Knee comfort depends more on alignment than “tightness.”
- Ankle clean-up is usually about length and overlap, not strength.