Best bike brake cable replacement usually comes down to a simple goal: smoother pull, stronger bite, and fewer surprises when you grab the lever.
If your brake lever feels “mushy,” the brake won’t fully release, or you keep having to re-tighten the cable, you’re often fighting friction, corrosion, or a stretched inner wire. Swapping cables is one of the highest value maintenance jobs because it changes how the whole brake system feels, even when your pads and calipers are fine.
For 2026, the good news is you don’t need exotic parts to get a noticeable upgrade. The best results usually come from pairing a good stainless inner wire with low-friction, properly cut housing and decent end caps, then installing it with care. This guide helps you pick what matters, avoid common compatibility traps, and do a clean install without turning it into an all-day project.
What “best” means for brake cable replacement (and what it doesn’t)
When people search for the “best” brake cable, they often mean “the one that makes my brakes feel new again.” That’s realistic, but only if you match the cable to the brake type and fix the real source of drag.
- Inner wire quality impacts corrosion resistance and how smoothly it slides.
- Housing type matters as much as the wire. Brake housing is typically compressionless enough for strong braking, while shift housing is built differently.
- Installation is the multiplier. A great cable installed with jagged housing cuts still feels rough.
Also, a cable won’t fix everything. If your caliper pivots are seized, your pads are contaminated, or your rotor is bent, you’ll still feel problems. Cables are a big lever, not magic.
Common reasons your braking feels bad (and cables get blamed)
Brake cables live in a harsh world: sweat, rain, road grit, and sometimes a pressure washer that hits the wrong spot. Most “my brakes are weak” complaints trace back to friction or lost motion.
- Corrosion in the housing: rust blooms inside, the inner wire starts “grinding.”
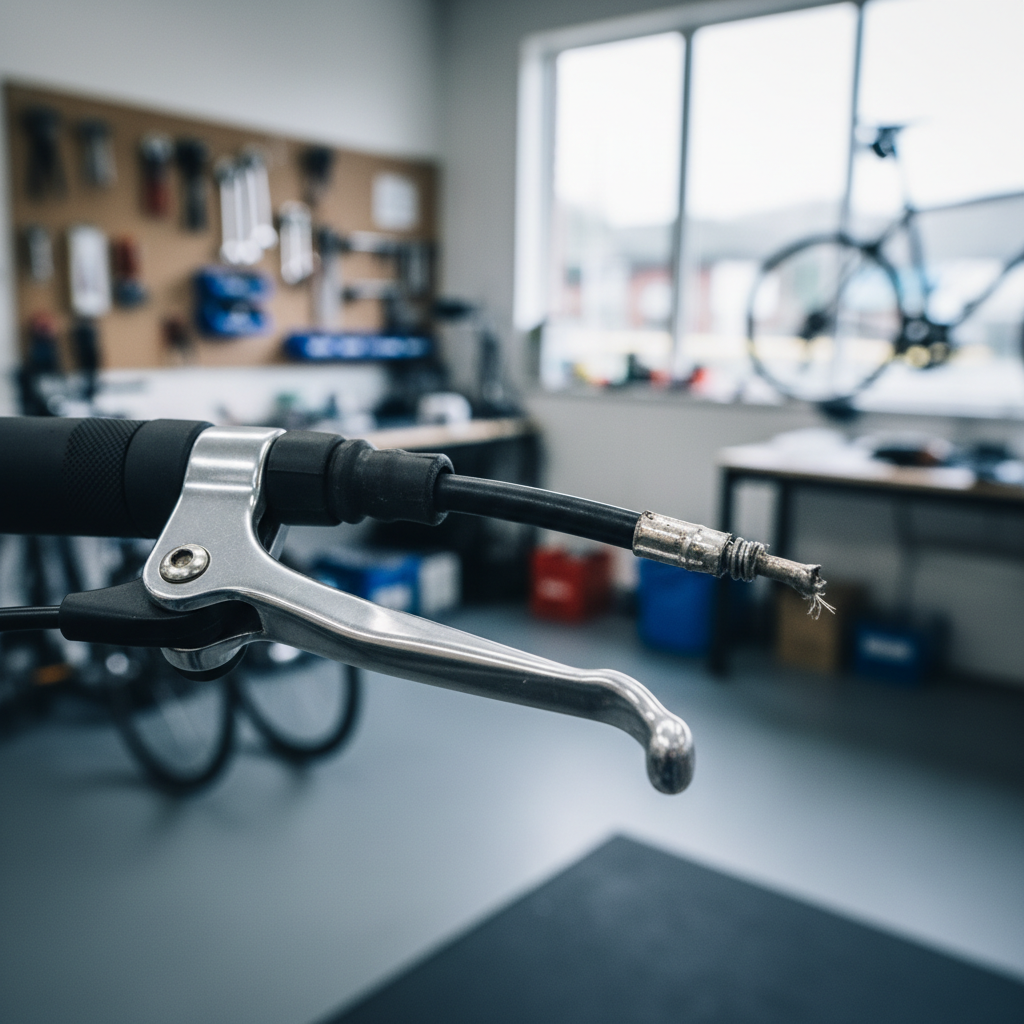
- Frayed wire at the pinch bolt: the cable still works until it suddenly doesn’t.
- Kinked housing: common after a crash or sloppy handlebar bag routing.
- Wrong housing for the job: shift housing used for brakes can compress and feel inconsistent.
- Too-tight bends: especially on flat-bar bikes with short head tubes, friction spikes.
According to Park Tool... brake performance depends heavily on correct cable and housing condition, and contaminated or damaged lines can cause poor lever feel. That’s why a cable swap often feels like a “brake upgrade,” even when nothing else changes.
Quick self-check: do you really need a new cable, housing, or both?
Before you order anything, do a fast triage. It saves money and prevents you from reusing the part that caused the issue.
Signs you should replace the inner cable
- Visible fraying near the caliper/anchor bolt or at the lever.
- Brown staining or rough texture on the exposed wire.
- The wire “sticks” when you pull it through by hand.
Signs you should replace the housing too
- Cracked outer jacket, crushed sections, or sharp kinks.
- Water intrusion or gritty feel when the cable moves.
- Lever feel improves briefly after lubrication, then gets bad again.
If you’re chasing the best bike brake cable replacement feel, replacing both inner wire and housing is often the cleanest reset, especially for bikes that see rain or winter roads.
What to buy in 2026: materials, coatings, and housing choices
You’ll see lots of marketing terms, but a few specs actually matter. Here’s a practical way to shop without overthinking it.
Inner wire: stainless vs galvanized vs coated
- Stainless steel: common “sweet spot” for corrosion resistance and durability, a safe pick for most riders.
- Galvanized: often cheaper, can work fine for dry climates, but tends to corrode sooner in wet conditions.
- Polymer/PTFE-coated: can feel very slick at first, but some coatings wear and then feel uneven. Still useful when routing is tight or bends are unavoidable.
Housing: standard brake housing vs compressionless
- Standard spiral-wound brake housing: widely compatible and usually plenty for rim brakes and many mechanical discs.
- Compressionless brake housing: reduces “sponginess” and can improve power on mechanical disc brakes, but installation needs cleaner cuts and careful routing.
Small parts are not optional. New ferrules (end caps), a clean cable end crimp, and a dab of grease at contact points often determine whether the upgrade feels premium or just “okay.”
Compatibility matters more than brand: use this table
Most replacement mistakes are simple: wrong cable head, wrong housing type, or buying a “kit” that doesn’t match your controls. Use this as a quick guide.
| Bike / brake setup | Typical cable head | Housing type | Notes |
|---|---|---|---|
| Road drop-bar brake levers (mechanical) | Pear/Nipple (road) | Brake housing | Check lever spec; many use road-style heads. |
| Flat-bar levers (MTB/commuter) | Barrel (MTB) | Brake housing | Most common for hybrids and MTB. |
| Mechanical disc brakes | Road or MTB (depends on lever) | Brake housing, often compressionless | Compressionless can sharpen bite and modulation. |
| V-brakes / cantilever | Usually MTB head | Brake housing | Mind noodle/bend routing to reduce friction. |
| Hydraulic disc brakes | Not applicable | Not applicable | These use hose and fluid, not brake cables. |
If you’re unsure which head you have, pull the cable from the lever and compare it visually before ordering. Many “universal” cables include both heads, but not all do.
Installation steps that actually change lever feel
You can buy premium parts and still end up with mediocre braking if the install is rushed. These steps usually give the biggest payoff.
1) Reset tension and routing
- Shift the barrel adjuster in (more slack) so you have adjustment room later.
- Follow existing routing, but don’t copy a bad bend. Aim for smoother arcs, especially at the handlebar.
2) Cut housing cleanly
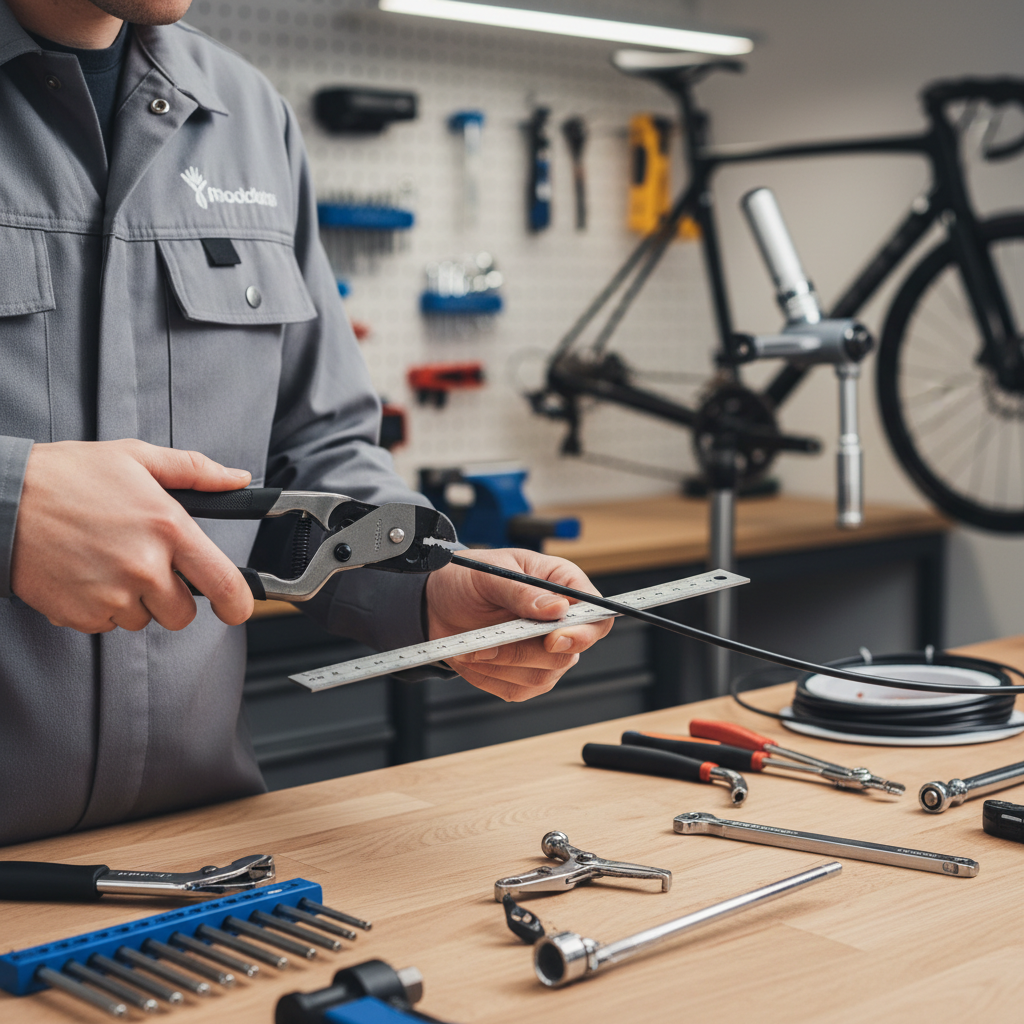
- Use real cable cutters, not diagonal pliers.
- Open the liner after cutting, and make the end square so the ferrule seats flat.
3) Protect high-friction points
- Add a tiny amount of grease at ferrules and contact points, unless the manufacturer says “dry install.”
- Use sealed end caps when riding in wet or salty environments.
4) Set pad clearance and bed-in
- Set the brake so the lever hits solidly before it reaches the bar.
- If you replaced pads too, follow the pad maker’s bedding guidance.
After a short ride, re-check tension. New cables can “settle” slightly, and housing can seat deeper into ferrules.
Mistakes that waste money (even with good cables)
These are the classic “I replaced the cable and nothing changed” scenarios.
- Mixing shift housing with brake housing: it can feel inconsistent and, in some cases, unsafe.
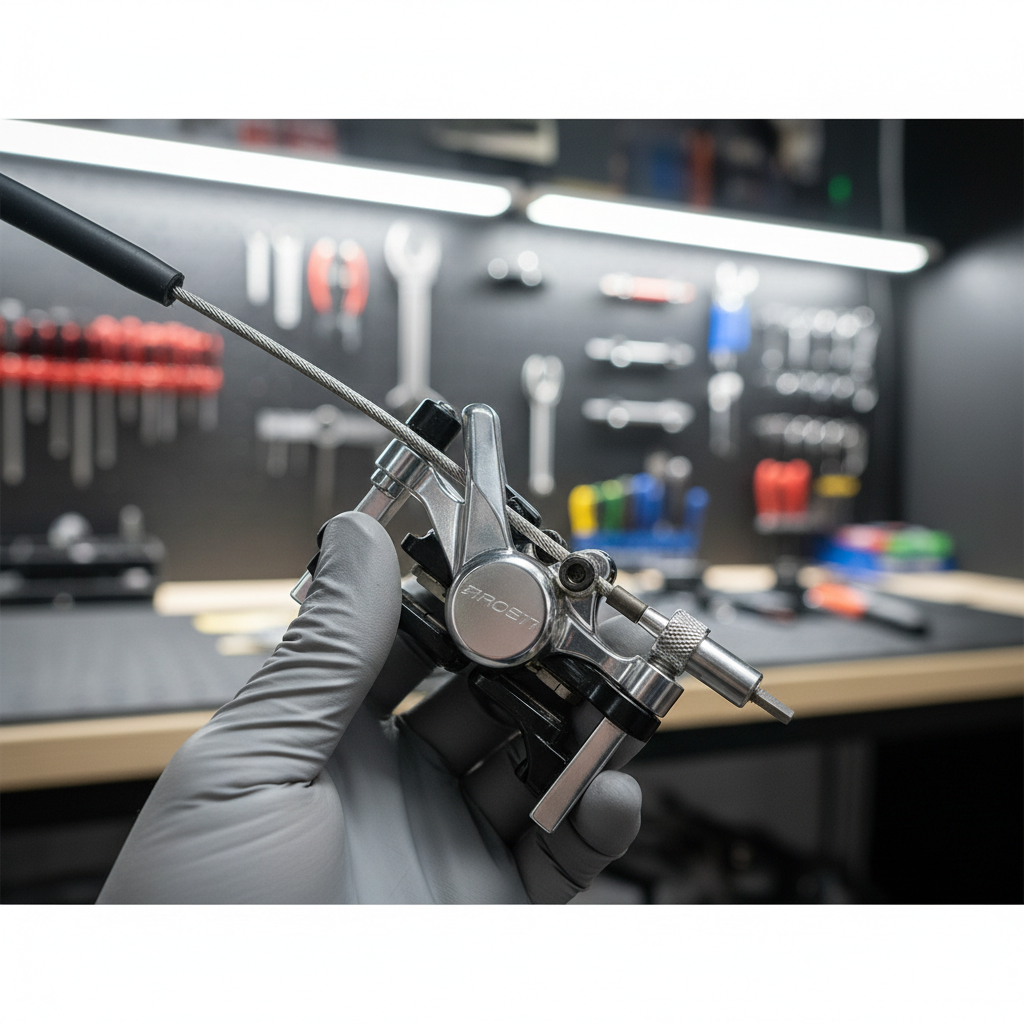
- Reusing crushed ferrules: they create drag and poor seating, especially with compressionless housing.
- Over-lubing: heavy oil attracts grit, then your new setup turns into sandpaper.
- Ignoring caliper return spring issues: the cable isn’t always the culprit when the brake doesn’t release.
- Not checking cable rub: a cable that saws against a head tube or frame stop will fail early.
Key point: the best bike brake cable replacement is the one that fits your lever, matches your brake type, and is installed with clean housing cuts and sane routing. The “best brand” matters less than those basics.
When to get a shop involved (safety and sanity)
Brakes are safety-critical, so it’s worth being conservative. If any of the situations below sound familiar, consider a bike shop or a qualified mechanic.
- Your lever pulls to the bar even after you set tension and pad clearance.
- The cable routing goes through an internal frame path and you don’t have the guide tools.
- Mechanical disc alignment keeps rubbing and you can’t isolate whether it’s cable tension, pad adjustment, or a bent rotor.
- You’re unsure whether your bike uses road vs MTB cable head, or the lever feels “wrong” after install.
According to Shimano... proper brake adjustment and inspection are important for safe riding, and worn or damaged parts should be serviced appropriately. If you’re not confident in the final brake check, having a professional confirm setup is a reasonable call.
Practical conclusion: what most riders should buy for 2026
If you want a reliable upgrade without getting lost in micro-features, a stainless inner cable plus fresh brake housing (often compressionless for mechanical discs, standard for many rim brakes) is the safe, high-impact combo. Add quality ferrules, keep routing smooth, and your brakes typically feel cleaner and more predictable.
Your next action is simple: confirm your lever’s cable head type, decide whether housing needs replacement, then buy a matched kit sized for your bike. After installation, do a low-speed test in a safe area before riding in traffic, and consult a professional if anything feels off.