How to install bike wheel lights comes down to two things: choosing the right style for your wheels, then mounting it so it won’t slip, rub the brakes, or drain batteries mid-ride.
If you’ve ever had a light rattle loose, hit a spoke, or stop working after the first rainy commute, you already know why installation matters, it’s not just “clip it on and go.” A solid setup can improve visibility from the side, which is where drivers often miss cyclists.
One quick safety note before we get hands-on: lights add moving parts to a moving wheel, so you want a clean install and a short test ride. According to NHTSA, visibility is a major factor in preventing nighttime crashes, and side visibility is part of that bigger picture.
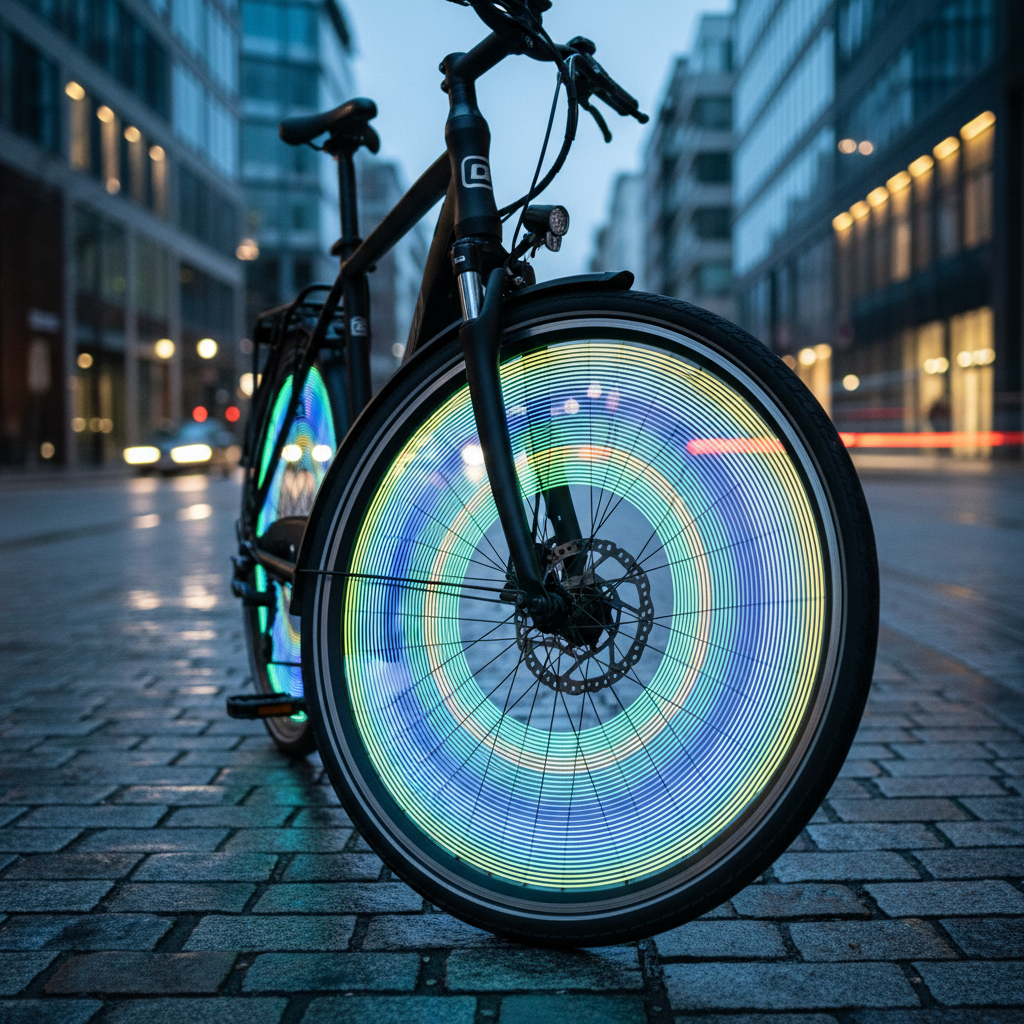
Pick the right type of wheel light (it changes the install)
Before tools and zip ties, match the product to your wheel, brakes, and riding habits. Most “install problems” start with a mismatch.
| Wheel light type | Mounts on | Best for | Common gotcha |
|---|---|---|---|
| Spoke string/clip LEDs | Spokes | Affordable side visibility, easy DIY | Can slip if not tightened, may interfere with reflectors |
| Valve-cap lights | Valve stem | Quick install, minimal hardware | Imbalance at speed, can loosen, not great in heavy rain |
| Rim/tire-side strip lights | Rim sidewall or tire edge | Continuous ring effect, strong visibility | Adhesive prep matters, can peel in wet/dirty conditions |
| Hub-mounted systems | Hub/axle area | Clean look, less spoke clutter | More steps, brake/clearance compatibility varies |
Practical rule: if you run rim brakes, keep anything bulky away from the brake track and calipers. If you ride rough pavement, avoid flimsy mounts that rely on one tiny clip.
Quick fit check: make sure your bike can take them
Do this two-minute check before you open the packaging, it saves a lot of frustration.
- Wheel size: 26, 27.5, 700c, etc. Some ring kits are size-specific.
- Brake style: disc brakes give more room near the rim, rim brakes need extra clearance.
- Spoke pattern and count: very bladed spokes or odd patterns can limit clip-style lights.
- Valve type: Presta vs Schrader matters for valve-cap lights.
- Where you ride: wet commutes call for better sealing and corrosion-resistant hardware.
If anything already rubs or runs tight on your wheel, fix that first. Wheel lights won’t solve a brake alignment issue, they’ll just make it noisier.
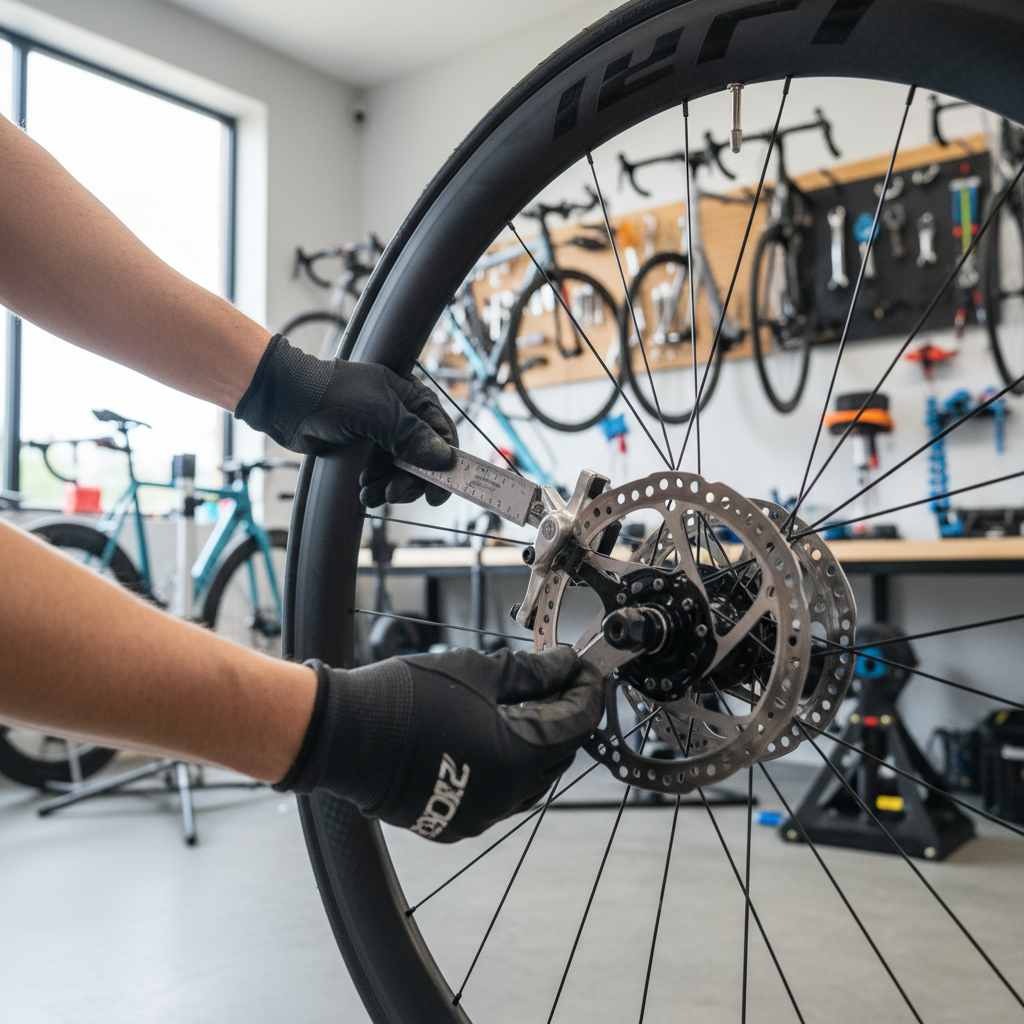
Prep your wheel so lights actually stay put
This is the unglamorous part, and it’s where most installs go wrong. Dirt and oil make clips creep and adhesive fail.
- Wipe spokes and rim: use a clean rag; if you’re using adhesive, use isopropyl alcohol and let it dry.
- Remove obstacles: bulky spoke reflectors may need repositioning so the light doesn’t twist.
- Check true and brake rub: if the wheel wobbles, anything mounted near the rim can scrape.
- Plan orientation: put battery packs or heavier modules opposite each other when possible to reduce imbalance.
Key point: for adhesive strip kits, temperature matters. In many cases, mild indoor temps help the bond set better than a cold driveway install.
Step-by-step: how to install bike wheel lights (by common style)
Below are reliable, repeatable steps that work for most consumer kits. If your product manual contradicts anything here, follow the manufacturer’s guidance, especially for waterproof seals and battery doors.
1) Spoke-mounted clip or string lights
- Lay out the pattern: decide whether you want one spoke line, a few evenly spaced spokes, or a full “fan” effect.
- Attach from the hub outward: start near the hub so the light sits stable, then work toward the rim.
- Mind the crossing spokes: on many wheels, spokes cross; route the light so it doesn’t get pinched where spokes intersect.
- Secure the battery module: mount it close to the hub (less centrifugal force), and add the included strap or a small zip tie if allowed.
- Spin test: lift the wheel and spin it fast, watch for wobble, rubbing, or the module “walking” sideways.
If you’re wondering how to install bike wheel lights so they don’t drift, the trick is simple: tighten at the hub area, not near the rim where vibration is harsher.
2) Valve-cap lights
- Confirm valve type: use the right cap for Presta or Schrader, forcing the wrong one can damage the valve core.
- Install with the bike upright: thread on by hand until snug, don’t over-tighten.
- Add a tiny O-ring if provided: it helps resist loosening and improves water resistance.
- Road check for balance: if you feel a rhythmic thump at speed, remove it, or add a matching cap light on the other wheel to reduce the sensation.
These are fast, but they’re also the easiest to lose. For city riding, consider a small thread-locking approach only if the brand recommends it, many plastics crack if you get aggressive.
3) Rim/tire-side strip lights (adhesive kits)
- Clean aggressively: alcohol wipe, then wait a minute. Any residue makes peeling likely.
- Start at the valve: it becomes your reference point for even spacing.
- Press in short sections: apply 4–6 inches at a time, pressing firmly along the full length.
- Avoid the brake track: keep adhesive away from the rim braking surface.
- Cure time: many adhesives need time to set, avoid rain or wash for the first day if you can.
For this style, “how to install bike wheel lights” is really “how to prep and press.” A rushed adhesive job usually fails on the first wet ride.
Safety checks and a short test ride (don’t skip)
After installation, take two minutes for a static check, then a quick spin around the block. This is where you catch the stuff that becomes dangerous later.
- Brake clearance: squeeze brakes while spinning the wheel, listen for contact.
- Wire/clip security: tug lightly on each mount point, nothing should slide.
- Visibility angles: step 20–30 feet to the side, confirm you’re visible from a driver’s viewpoint.
- No sharp edges: trim zip ties flush so they don’t cut you during tire changes.
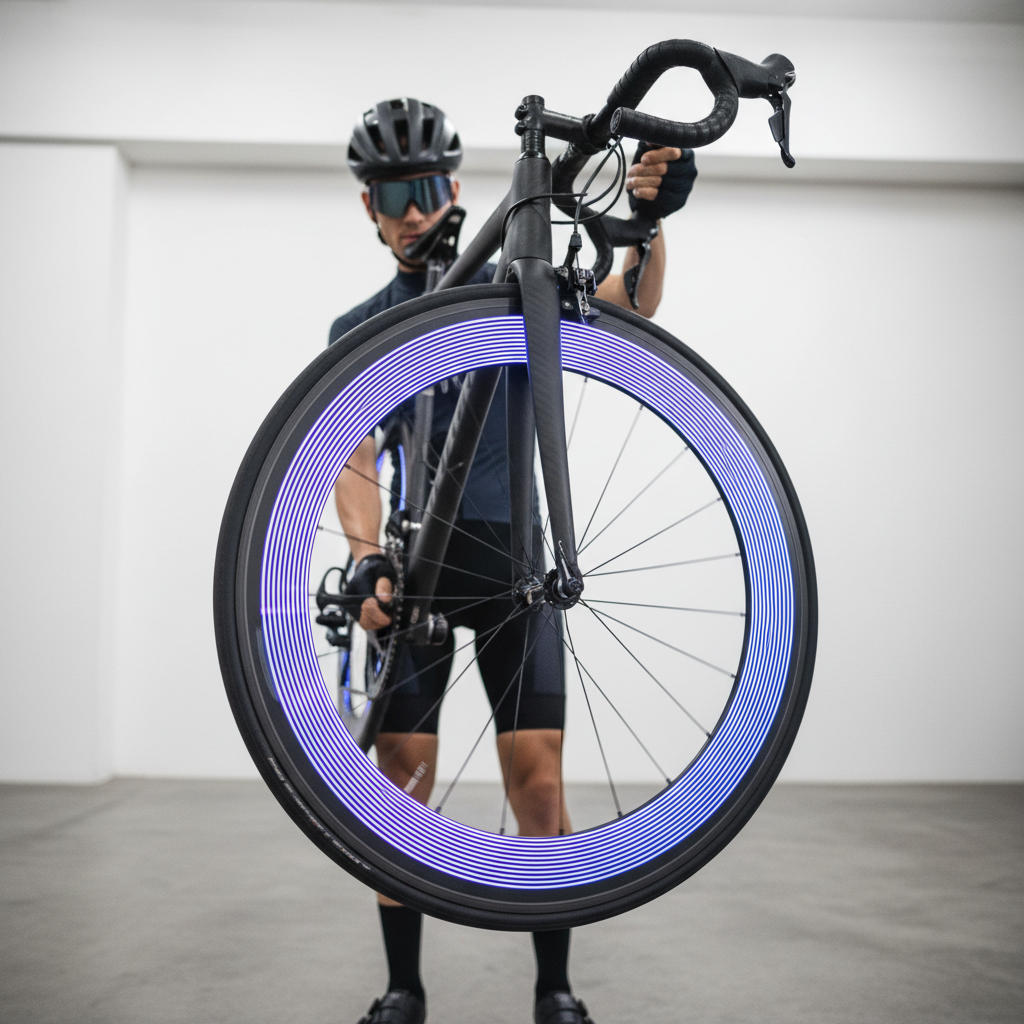
Troubleshooting: the issues people run into most
Most fixes are small, but you need to catch them early.
- Lights slip down the spoke: clean the spoke again, then re-attach with the clamp fully seated; if allowed, add a secondary tie near the hub.
- Rubbing noise once per rotation: you likely have a heavy module pulling outward, rotate the mounting position or balance with a second module opposite.
- Flickering: battery contact is loose, check springs and doors; on some kits, vibration causes micro-disconnects.
- Water issues: verify seals, and dry the unit; if corrosion shows up, replace batteries and clean contacts gently.
- Not bright enough: wheel lights help side visibility, but they’re not a headlight replacement, pair with a front white light and rear red light.
According to CPSC, using proper bike lighting and reflectors supports visibility, but real-world setup varies, so it’s smart to layer your visibility tools instead of betting everything on one feature.
Key takeaways (so you remember the important parts)
- Choose the light style based on your brakes, wheel size, and how rough your typical roads are.
- Prep matters more than most riders expect, clean surfaces keep mounts from creeping.
- Mount heavier parts near the hub to reduce wobble and stress on the mount.
- Do a spin test and a short ride before you trust the setup on a night commute.
Conclusion: a secure install beats a flashy one
If you follow the checks above, how to install bike wheel lights stops being guesswork and starts being a quick, repeatable routine you can redo after a tire change. The best outcome is boring: no rubbing, no slipping, and lights that keep working in the conditions you actually ride in.
Action steps: pick the wheel light type that fits your brake setup, then do the clearance and spin tests before your next evening ride. If anything feels off, fix it at home, not at the first intersection in the dark.