How to charge bike lights with usb usually comes down to three things: finding the correct port, using a power source that actually delivers enough power, and knowing what the indicator lights mean so you do not unplug too early.
If your light died mid-ride, or you bought a new set and the manual feels vague, you are not alone. Bike light charging is “simple” in theory, but small details like USB-C vs micro-USB, waterproof covers, and battery protection circuits cause most of the confusion.
This guide walks through the practical steps, the common gotchas, and a quick checklist to diagnose issues. You will also get a small compatibility table so you can pick a cable and charger without trial-and-error.
What you need before you plug anything in
Before we talk technique, set yourself up to avoid the two most common problems: using the wrong cable, and using a “charger” that is really just a low-power USB port.
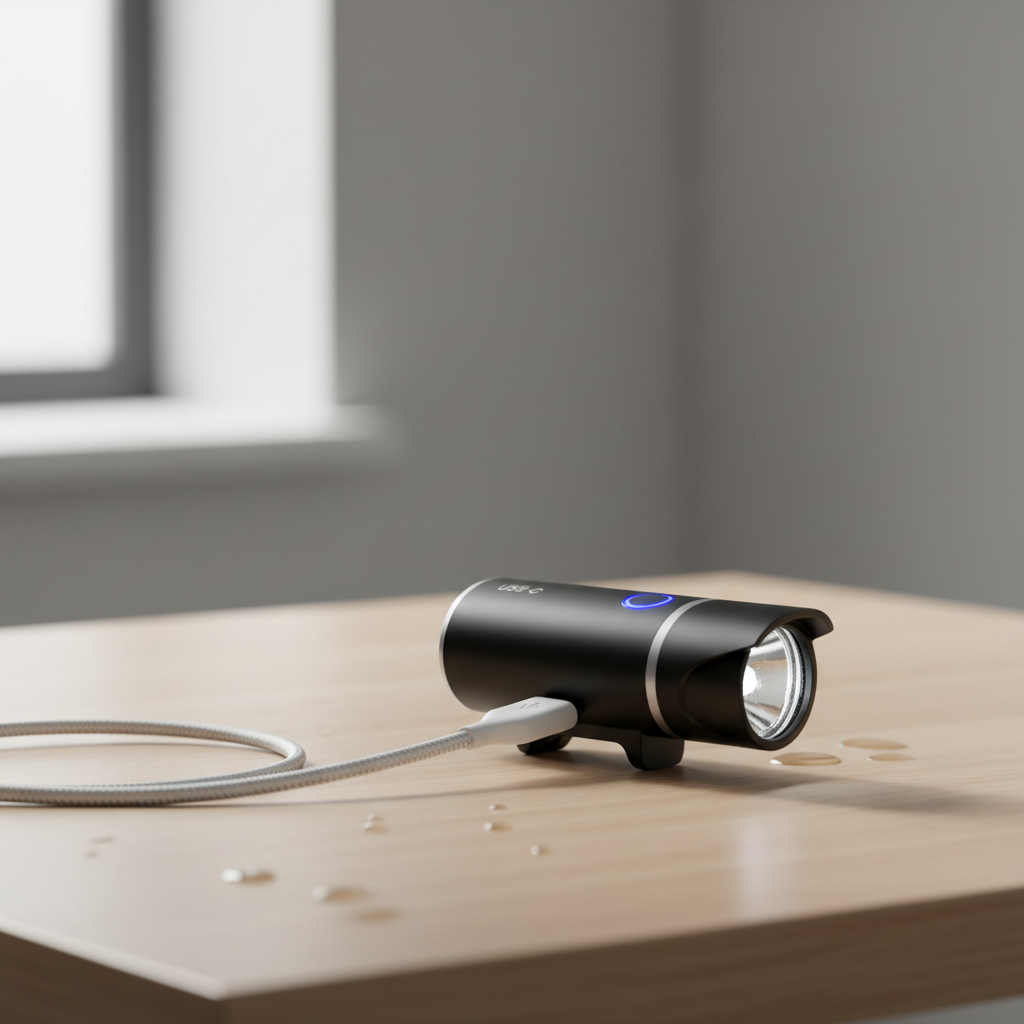
- The right cable: micro-USB, USB-C, or (less common now) a proprietary magnetic puck.
- A safe power source: a UL-listed wall adapter, a reputable power bank, or a computer USB port in good condition.
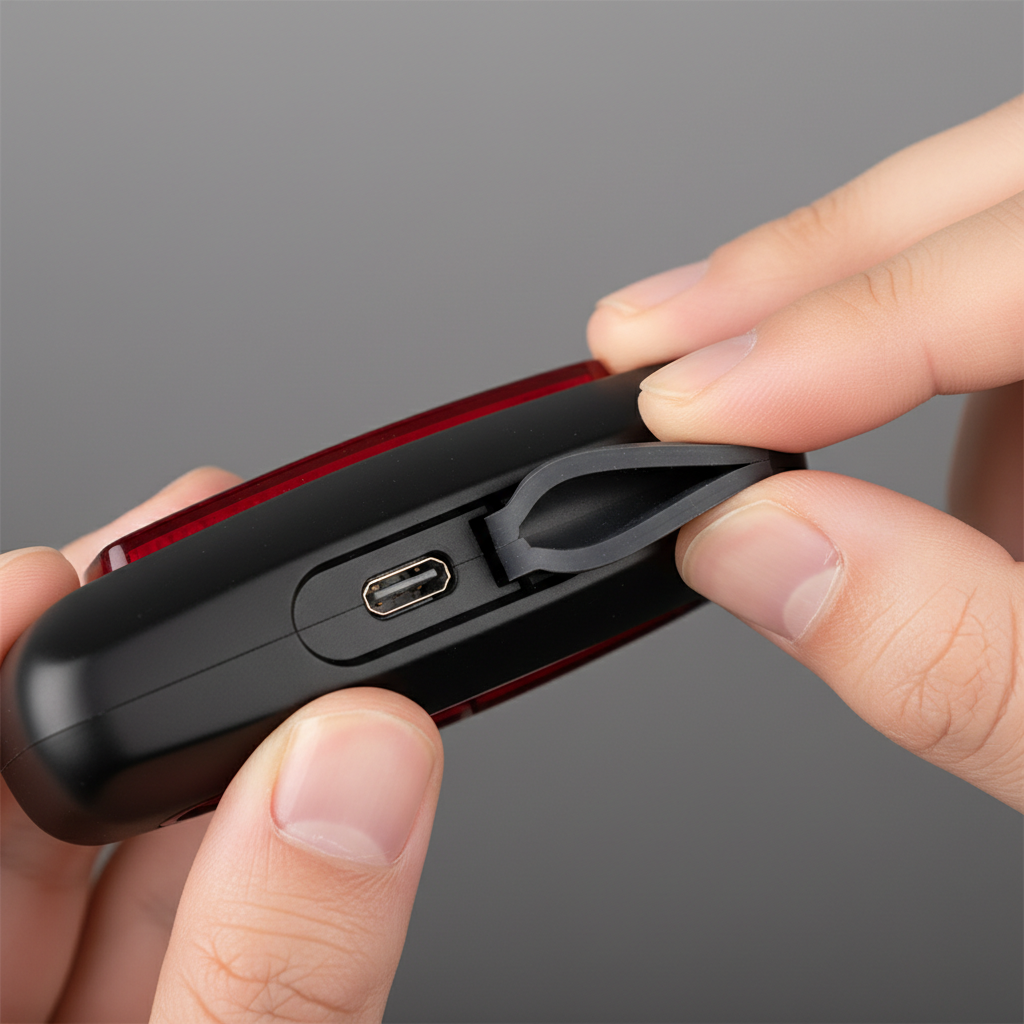
- Access to the charging port: many lights hide the port behind a tight rubber flap for waterproofing, it takes a bit of patience.
- Time: many commuter lights need 2–6 hours, higher-lumen models can take longer.
According to U.S. Consumer Product Safety Commission (CPSC) guidance on lithium battery safety, you generally want to avoid damaged cables, questionable adapters, and unattended charging when you are not sure about the device condition.
Step-by-step: how to charge bike lights with USB
How to charge bike lights with usb looks nearly identical across brands, but the little details matter, especially around waterproof seals and indicator LEDs.
1) Locate and inspect the port
Open the rubber cover and check for lint, corrosion, or moisture. If the port looks wet, let it dry fully before charging, water plus power tends to create the worst surprises.
2) Connect cable to the light first
Plug the USB end into the light gently and straight, no forcing. If it feels wrong, stop and confirm port type, micro-USB and USB-C can be misread in bad lighting.
3) Choose a power source that matches real-world needs
A wall adapter rated for 5V is typical. Many lights draw under 1A, but some brighter units pull more during fast charging. If charging feels “stuck,” the USB port may be too weak.
4) Watch the indicator behavior
Most lights show red while charging and green (or off) when full, but patterns vary. If the light has multiple LEDs, they often act like a battery gauge rather than a simple on/off signal.
5) Unplug, reseal, and do a quick function check
Once charged, unplug from power, then remove the cable from the light, close the rubber flap firmly, and power the light on for a few seconds to confirm it runs normally.
USB port types and chargers: a quick compatibility table
In practice, the port type decides the cable, and the charger quality decides whether charging is stable. Here is the simple view.
| Light port | Common cable | Typical power source | What to watch for |
|---|---|---|---|
| USB-C | USB-A to USB-C or USB-C to USB-C | Wall adapter, power bank, laptop USB-C | Some lights dislike USB-C PD fast chargers, if it cycles on/off, try a plain 5V USB-A adapter |
| Micro-USB | USB-A to micro-USB | Wall adapter, power bank, computer USB-A | Loose ports and worn cables cause intermittent charging |
| Magnetic/proprietary | Brand cable/puck | Usually USB-A power source | Easy to misalign, keep contacts clean and dry |
If you are unsure, check the back of the light body, the rubber flap area, or the manual, most brands print the port type and input rating near the port.
Fast self-check: are you charging correctly or chasing the wrong problem?
Before you assume the battery is dead, run this quick list. It saves time, and it keeps you from buying replacements too early.
- Does the cable charge another device? If not, start there.
- Does the light show any LED response when plugged in? No LEDs can mean no power, a bad cable, or a damaged port.
- Did you try a different power source? Some car USB ports and older hubs under-deliver power.
- Is the rubber flap fully open? A half-open cover sometimes blocks the plug from seating.
- Does the light run briefly, then die? Often a degraded battery or a loose connection, especially on older micro-USB units.
- Is the light very cold or very hot? Many batteries refuse to charge outside a safe temperature range.
When people search how to charge bike lights with usb, the hidden issue is often “it is connected, but not really connected.” A firm, fully seated plug fixes more cases than it should.
Troubleshooting: what to do when the light will not charge
Some problems are simple, some signal a battery reaching end-of-life. The key is to change one variable at a time so you know what actually helped.
Try a known-good, basic charger
Swap to a reputable 5V wall adapter and a short cable. If you were using a laptop dock, a car port, or a fast charger, you remove a lot of uncertainty by going basic.
Clean the port carefully
With the light unplugged, remove lint using a dry wooden toothpick or a small burst of compressed air. Avoid metal tools, and avoid liquids unless a manufacturer explicitly recommends them.
Let the light warm up or cool down
If the light sat in a freezing garage or a hot car, give it time indoors. Many lithium-ion charge controllers pause charging when temperatures feel unsafe.
Look for cable strain or port wobble
If the plug wiggles and charging cuts in and out, the port may be loose. At that point, forcing it usually makes things worse, and repair or replacement becomes the realistic path.
Charging habits that help the battery last longer
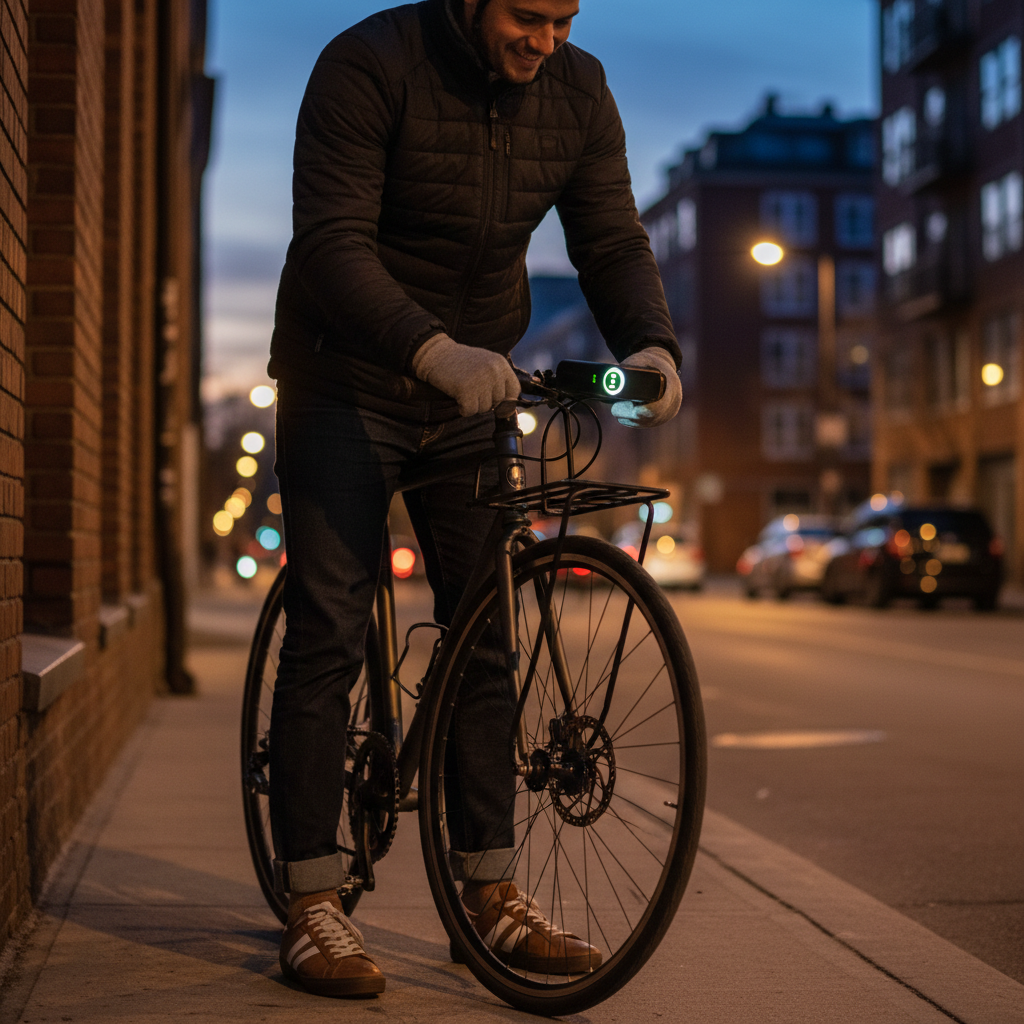
USB-rechargeable lights are convenient, but they are still battery products. A few habits usually reduce “sudden death” moments on rides.
- Top up before long rides rather than waiting for a full drain, many lights age better with shallower cycles.
- Do not store fully dead for weeks, that is when some cells dip too low and become unreliable.
- Avoid charging on flammable clutter, a clear countertop is boring but sensible.
- Reseal the port cover after every charge, that flap is your rain and sweat insurance.
- Label your cables if your household has ten look-alikes, “bike light” on one cable reduces daily friction.
According to National Fire Protection Association (NFPA) safety guidance related to lithium-ion batteries, using the correct charger, avoiding damaged batteries, and charging in a safe area are sensible precautions. If a light battery swells, smells odd, or gets unusually hot, stop using it and consider contacting the manufacturer.
Practical charging setups (commuter, weekend rider, and touring)
Here are setups that tend to work in the real world, where you forget things and charge in a hurry.
Commuter: the “always ready” routine
- Keep one USB cable and adapter near your keys or helmet.
- Charge twice a week, even if you did not fully drain it.
- Do a 10-second pre-ride check: power on, cycle modes, confirm brightness.
Weekend rider: batch charging
- Use a reputable multi-port USB charger, but do not overload it with questionable cables.
- Charge front and rear lights together the night before.
- If your light supports pass-through use while charging, treat it as a convenience, not the default.
Touring: power bank strategy
- Pick a power bank you trust, and test it at home with your exact lights.
- Bring one spare short cable, cables fail more often than people plan for.
- Charge during breaks, not only at camp, small top-ups reduce stress.
Safety notes and when to get professional help
Most USB charging is low-risk when equipment stays in good condition, but there are clear moments to stop and ask for help.
- Stop charging if you notice swelling, hissing, leaking, burning smell, or excessive heat.
- Do not open a sealed light to “fix the battery” unless you have the right training, lithium cells can be hazardous when punctured.
- Consider professional help if the port is damaged, the unit only charges at a weird angle, or the battery life dropped sharply over a short period.
- If you are unsure about disposal, check local household hazardous waste rules, many areas treat lithium batteries as special waste.
For product-specific behavior, your manufacturer support page is usually the most accurate reference, especially for indicator codes and charger compatibility.
Key takeaways and a simple next step
If you remember one thing, make it this: how to charge bike lights with usb is less about “any cable works” and more about using a clean, fully seated connection with a stable 5V power source, then trusting the indicator pattern your model uses.
Your next step is simple, test your light today with one known-good cable and one known-good wall adapter, then pack that exact combo where you normally keep ride essentials, it removes the guesswork right when you need the light most.