A resistance band workout can cover your whole body without a rack, heavy dumbbells, or a lot of space, and that’s exactly why it works for busy weeks and home setups.
If you’ve tried bands before and felt like it was “too easy,” the issue is usually not the bands, it’s the setup: slack in the band, the wrong anchor height, moving too fast, or choosing exercises that don’t load the target muscle well. Fix those, and bands get real, fast.
This guide gives you a practical full-body session, a quick way to choose band tension, and a simple progression plan so you’re not guessing week to week. You’ll also see common form mistakes that make bands feel ineffective.
Why resistance bands work for full-body training (and when they don’t)
Bands create accommodating resistance, meaning the tension often increases as the band stretches. In plain English, many moves feel lighter at the start and harder near the end range, which can be useful for building control and keeping joints happier.
They also make it easier to train “anywhere,” but that convenience can backfire if you rush setup or skip consistent tension. A resistance band workout tends to under-deliver when your body position never challenges the target muscle, or when the band angle pulls you into awkward form.
- Great for: full-body circuits, warm-ups, rehab-style accessory work, travel workouts, high-rep hypertrophy sets, joint-friendly training.
- Less ideal for: max-strength testing, heavy hinge patterns without enough band tension, or anyone who can’t anchor safely.
According to American Council on Exercise (ACE), elastic resistance can improve strength and function when used with sound programming and technique, which is a nice reminder that bands are a tool, not a shortcut.
Quick self-check: what you need before you start
Most people don’t need a giant collection of bands, but you do need the right kind for the exercises you plan to do.
Equipment checklist
- 1–2 loop bands (mini bands) for glutes/hips and warm-ups
- 1–3 long loop bands (power bands) for rows, presses, hinges
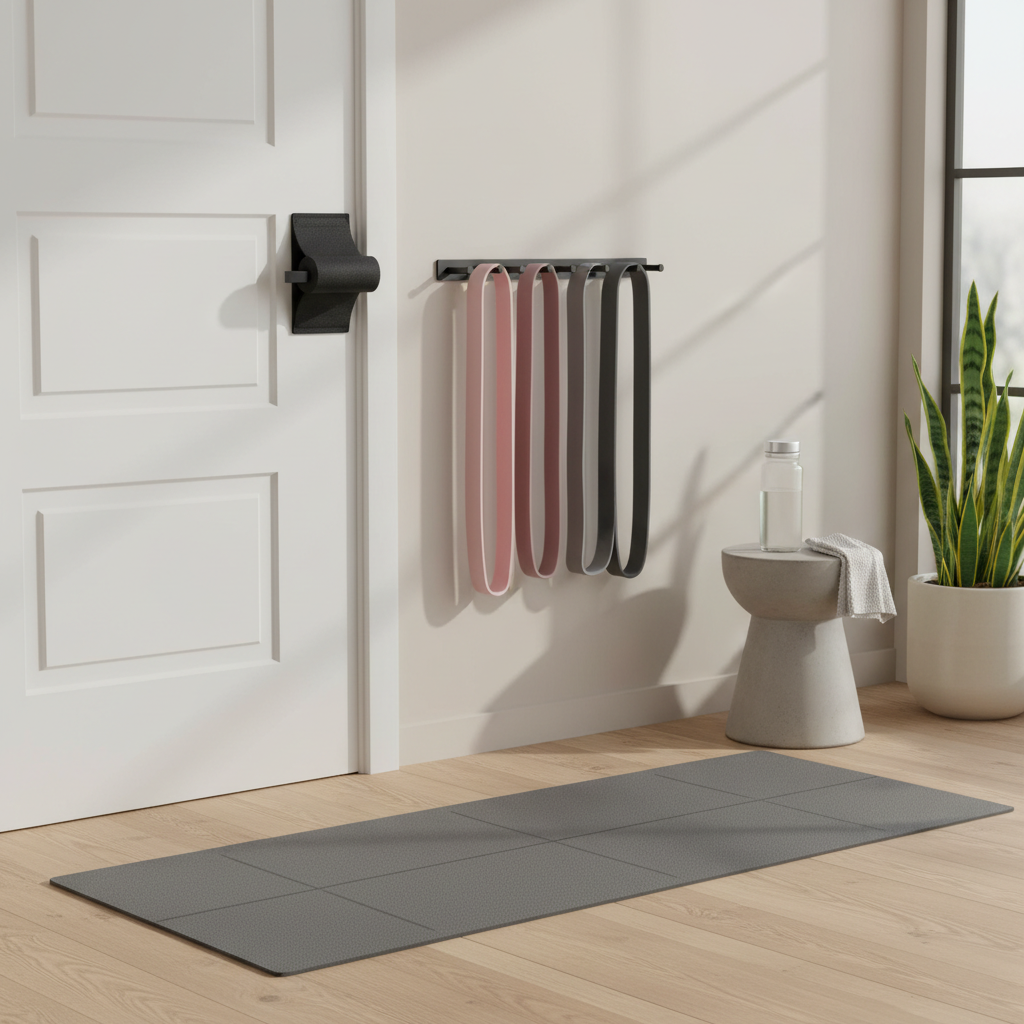
- Optional: door anchor, handles, a sturdy post, or squat rack upright
- Nice to have: a mat and a timer
Safety and setup checklist
- Check bands for small tears or thin spots, especially near seams.
- Anchor on something that won’t move, tip, or crack. If uncertain, skip the anchor move.
- Stand so the band has tension at the start of each rep, no “dead zone.”
- Keep wrists neutral and ribs down on presses and rows, that’s where many people leak tension.
If you have pain, recent injury, or medical limitations, it’s smart to check with a qualified clinician or trainer before ramping up volume.
How to choose the right band and intensity (without overthinking it)
Your best guide is still effort. For most full-body sessions, aim for RPE 7–9 on working sets, meaning you finish with roughly 1–3 good reps left in the tank.
Use these simple rules to make a resistance band workout feel “right”:
- Too easy at the start: step farther from the anchor or shorten the band (wrap once, if safe).
- Too hard at the end: reduce range slightly or choose a lighter band so you can control the finish.
- Form breaks early: lighten tension first, then slow the tempo.
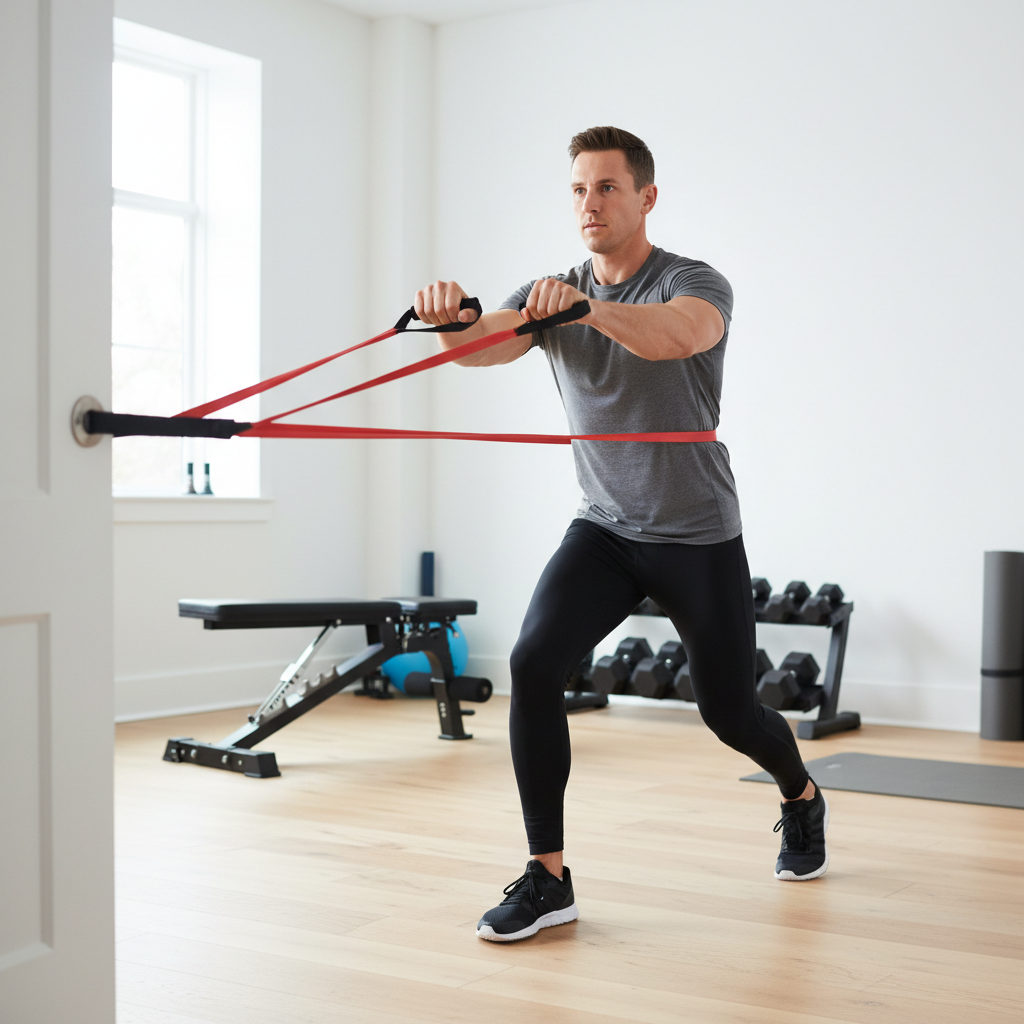
Key point: bands reward control. If you bounce reps, you’ll feel “busy” but not necessarily challenged. Slow down and keep constant tension.
Resistance band full body workout (30–45 minutes)
This session hits squat, hinge, push, pull, and core. Run it as straight sets with rest, or as a circuit if you prefer pace.
Warm-up (5–7 minutes)
- Mini band lateral walks: 2 x 10 steps each way
- Band pull-aparts (light): 2 x 12–15
- Bodyweight hip hinge drill: 8–10 reps, slow
- Scapular push-ups: 8–12 reps
Main workout
Option A: Straight sets, rest 60–90 seconds between sets.
Option B: Circuit, do one set of each move, rest 60–90 seconds, repeat for rounds.
| Movement | Exercise | Sets | Reps | Form cue |
|---|---|---|---|---|
| Squat | Band front squat (stand on band, band at shoulders) | 3 | 8–12 | Drive knees out, keep midfoot pressure |
| Pull | Standing band row (anchor at mid-torso height) | 3 | 10–15 | Pull elbows to back pockets, pause 1 second |
| Hinge | Band Romanian deadlift (stand on band, hold ends) | 3 | 8–12 | Hips back, long spine, feel hamstrings |
| Push | Band chest press (anchor behind at chest height) | 3 | 10–15 | Ribs down, reach slightly forward at lockout |
| Legs/Glutes | Mini band glute bridge | 2–3 | 12–20 | Posterior tilt, squeeze 2 seconds at top |
| Core | Pallof press (anchor at chest height) | 2–3 | 8–12/side | Don’t rotate, exhale as arms extend |
Finisher (optional, 4–6 minutes)
- Band overhead press: 2 x 10–12
- Band face pull (light-medium): 2 x 12–15
If shoulders feel cranky overhead, swap the press for an incline push-up or a lighter band at a pain-free angle.
How to progress this plan for 4 weeks (simple, realistic)
The easiest way to stall with bands is doing the same tension and the same reps forever. Pick one progression lever each week.
- Week 1: learn setup and positions, keep 2–3 reps in reserve.
- Week 2: add reps within the range (example: 8–12 becomes 10–12).
- Week 3: add tension by stepping out, shortening band, or using the next band up.
- Week 4: add a set to 1–2 key moves, or slow tempo (3 seconds down).
A practical benchmark: if you hit the top end of the rep range on every set with clean form, you’ve earned more tension next time.
Common mistakes that make band workouts feel pointless
Most of these are fixable in one session, which is the good news.
- No tension at the bottom: if the band goes slack, the set loses bite. Start farther away or shorten the band.
- Band angle fights your joints: adjust anchor height so the pull matches your intended motion.
- Racing reps: bands punish speed with sloppy end ranges. Slow eccentrics build more control.
- Too much shoulder shrugging on rows: think “shoulders down,” then pull.
- Anchoring on sketchy doors/furniture: if you don’t trust the anchor, your body holds back.
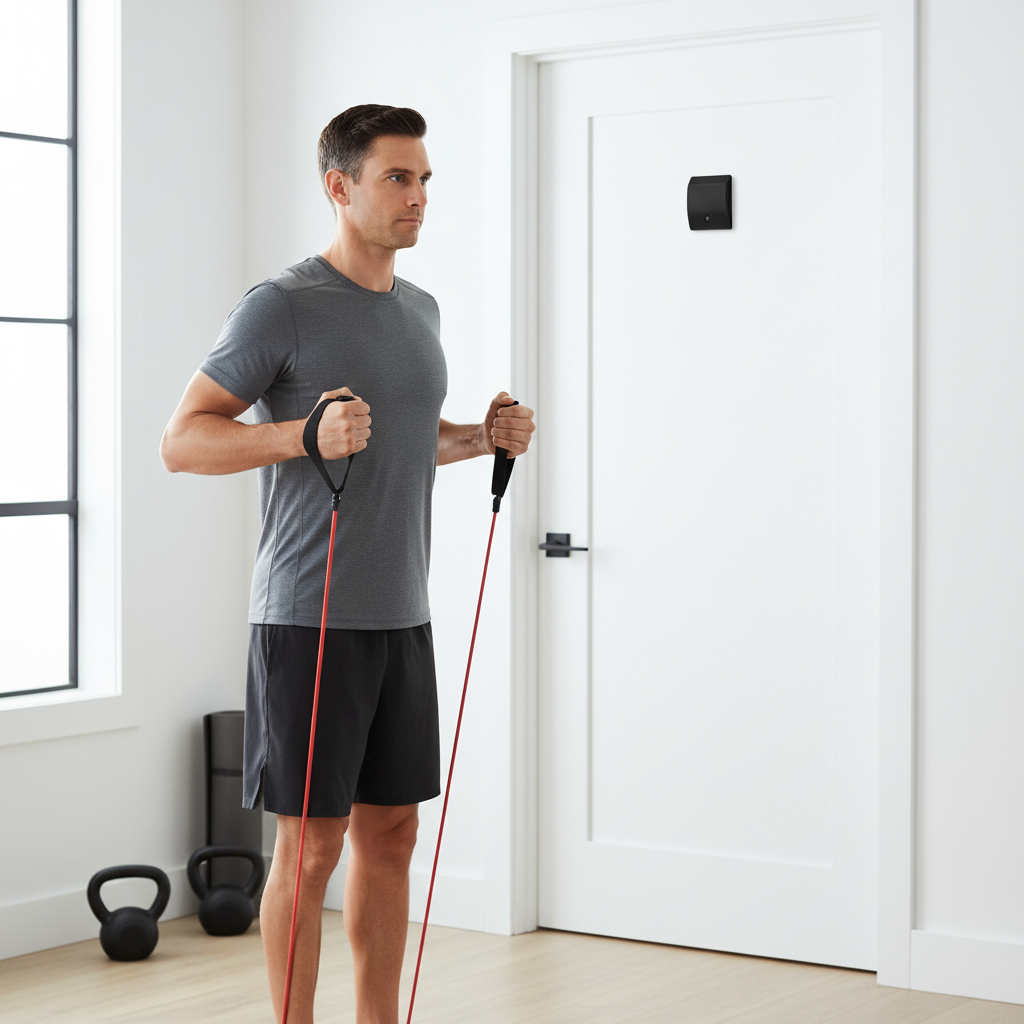
According to National Strength and Conditioning Association (NSCA), quality resistance training relies on progressive overload and good technique. With bands, “overload” often means better tension and better control, not just more speed.
When to modify, and when to get professional help
If a move causes sharp pain, numbness, or symptoms that linger after training, it’s usually a sign to stop and reassess. Many people can train around minor aches by changing angle, range, or band tension, but ongoing issues deserve a closer look.
- Modify if discomfort feels like mild irritation and improves with lighter tension or shorter range.
- Pause and consult a professional if pain is sharp, swelling appears, or you have a history of joint instability.
- Ask for coaching if you can’t feel the target muscle after multiple sessions, often a setup or bracing issue.
Conclusion: make bands feel “real” by owning the setup
A resistance band workout becomes effective when you treat tension like weight: set it on purpose, control the rep, and progress it over time. If you do the full-body plan above 2–3 times per week, keep form tight, and bump either reps or tension each week, you’ll usually feel meaningful changes in strength and consistency.
Action steps: pick your bands today, run Week 1 exactly as written, then decide one progression lever for next week. Simple, repeatable, not flashy.
FAQ
- Is a resistance band workout enough to build muscle?
It can be, especially for beginners and many intermediate lifters, as long as sets get close to fatigue and you progress tension, reps, or sets. If you already lift heavy, bands may work best as accessory training or for higher-rep phases. - How many days per week should I do a full-body band routine?
Many people do well with 2–4 days per week. If recovery feels slow, keep it at 2–3 days and reduce the optional finisher. - What band should I buy first?
A medium long loop band covers the most ground for rows, presses, and hinges, then add a lighter one for warm-ups and a heavier one as you progress. - Why do bands feel easy at first but hard at the end of the rep?
That’s the accommodating resistance effect: tension increases as the band stretches. Adjust stance so you also have tension at the start, not just at lockout. - Can I do this resistance band workout if I have knee pain?
Possibly, but it depends on the cause. Many people tolerate hinge-focused work (like RDLs) better than deep squats, but if pain persists, consider asking a physical therapist or qualified coach for modifications. - Do I need a door anchor?
No, but it expands exercise options and makes pulling and pressing angles more consistent. If you use one, make sure the door and anchor feel secure and the band stays away from sharp edges.
If you’re trying to build a routine you can stick with, but you keep getting stuck on band selection, anchor setup, or progressions, it may help to follow a structured plan or work with a coach who can sanity-check form and programming without overcomplicating your week.